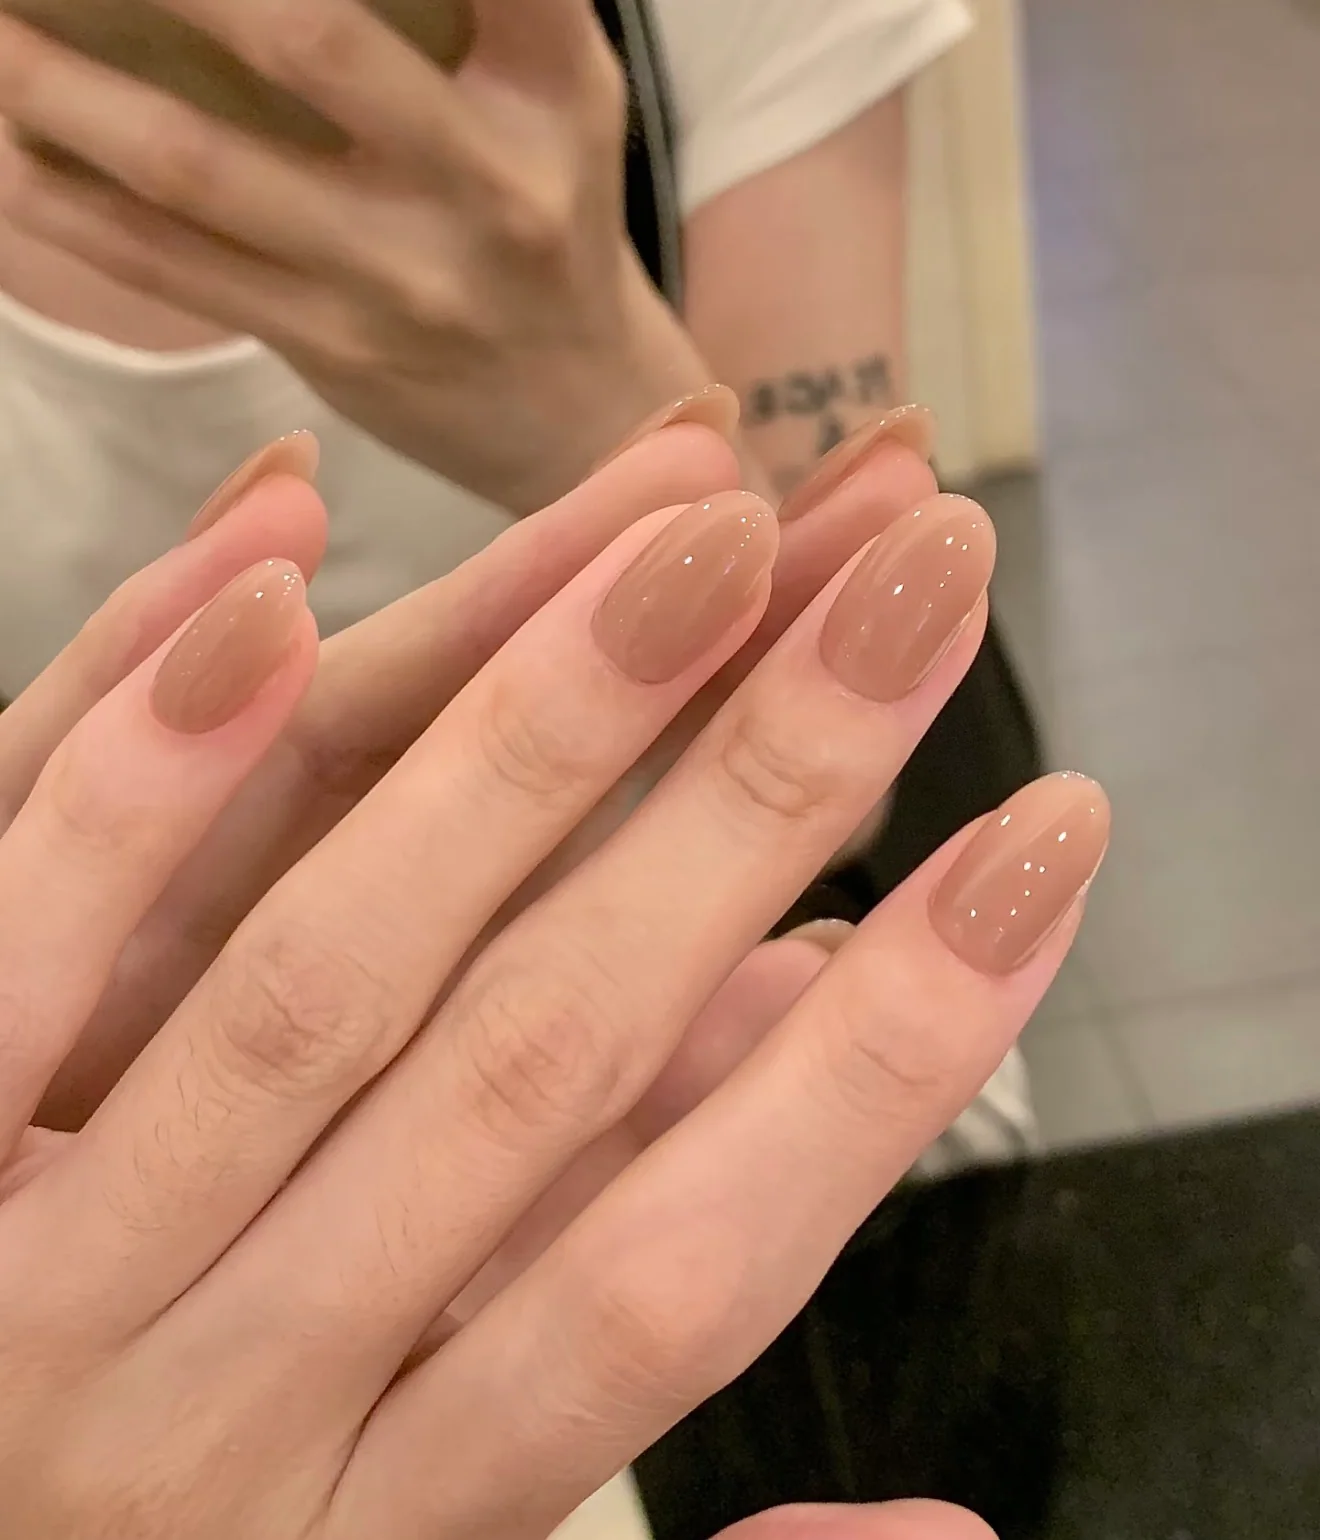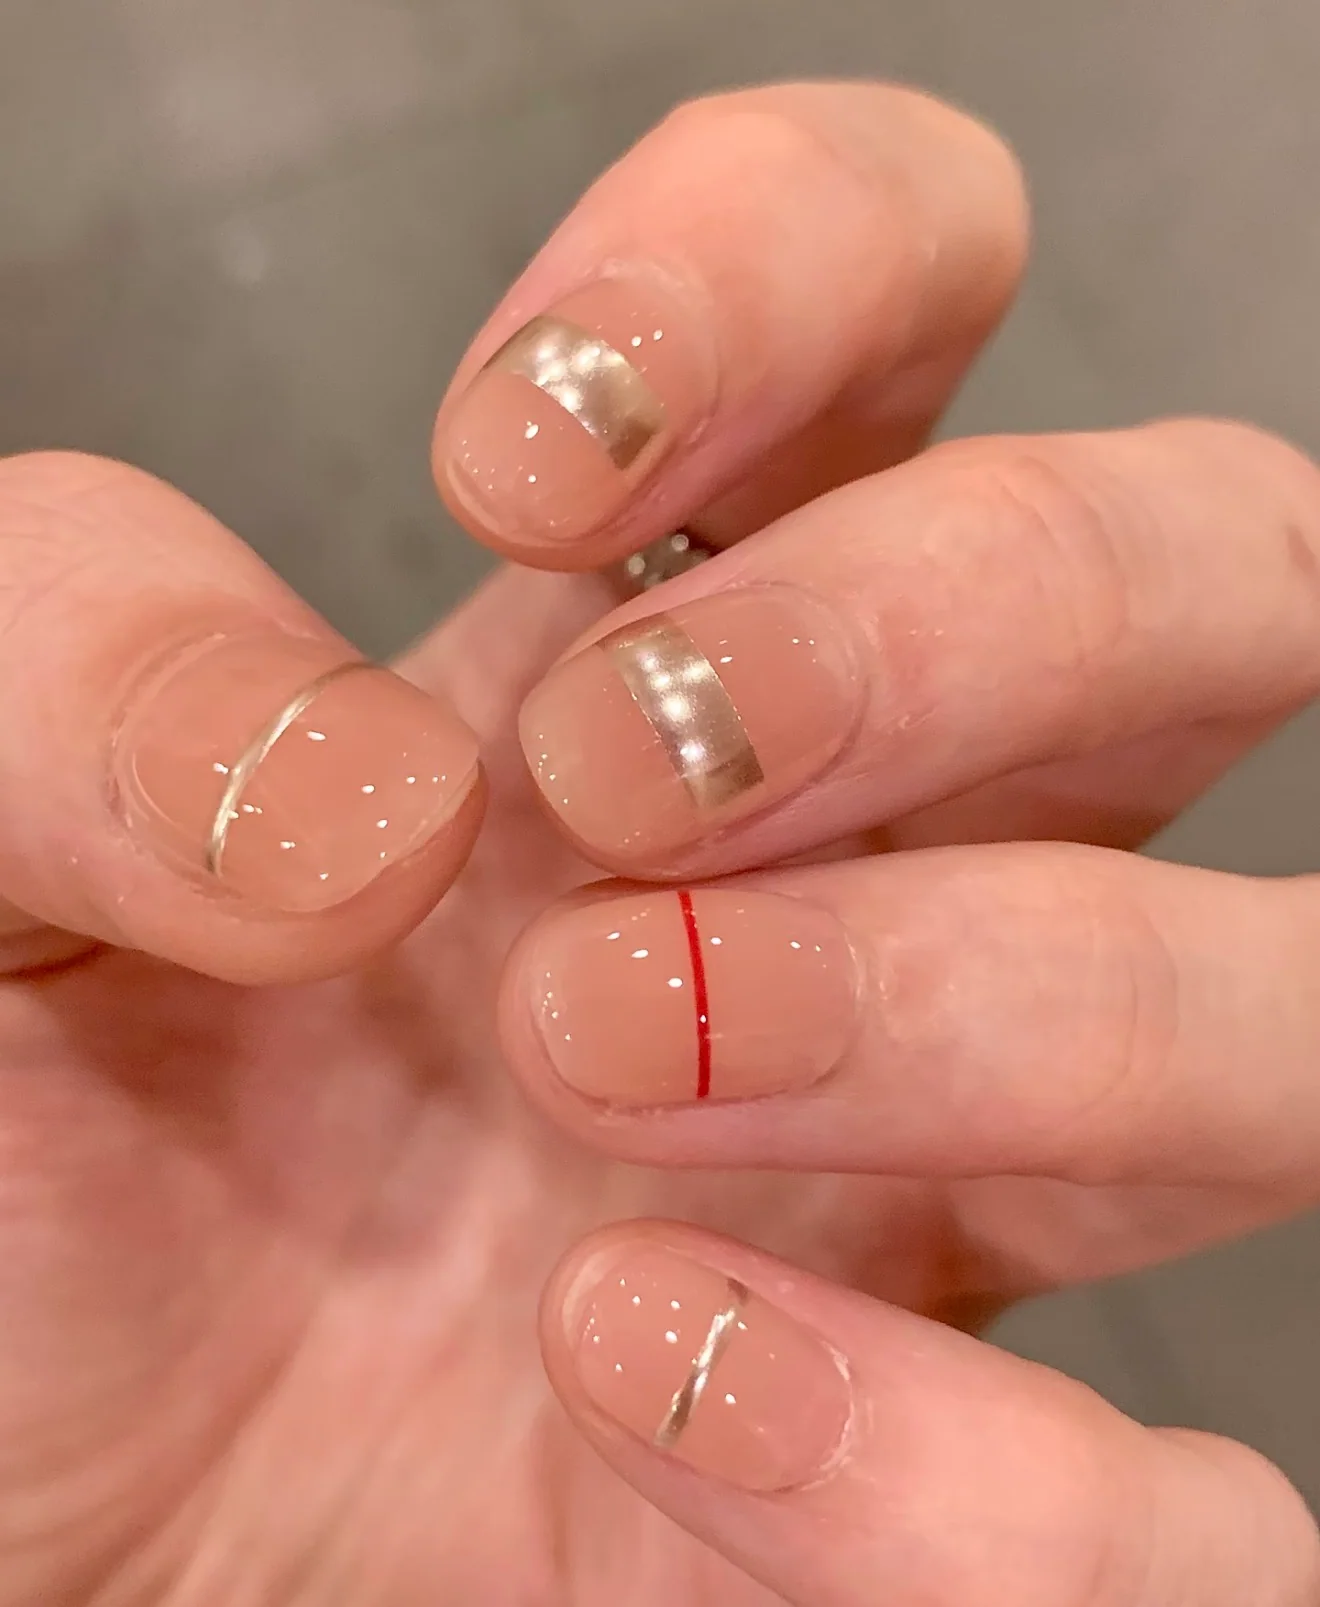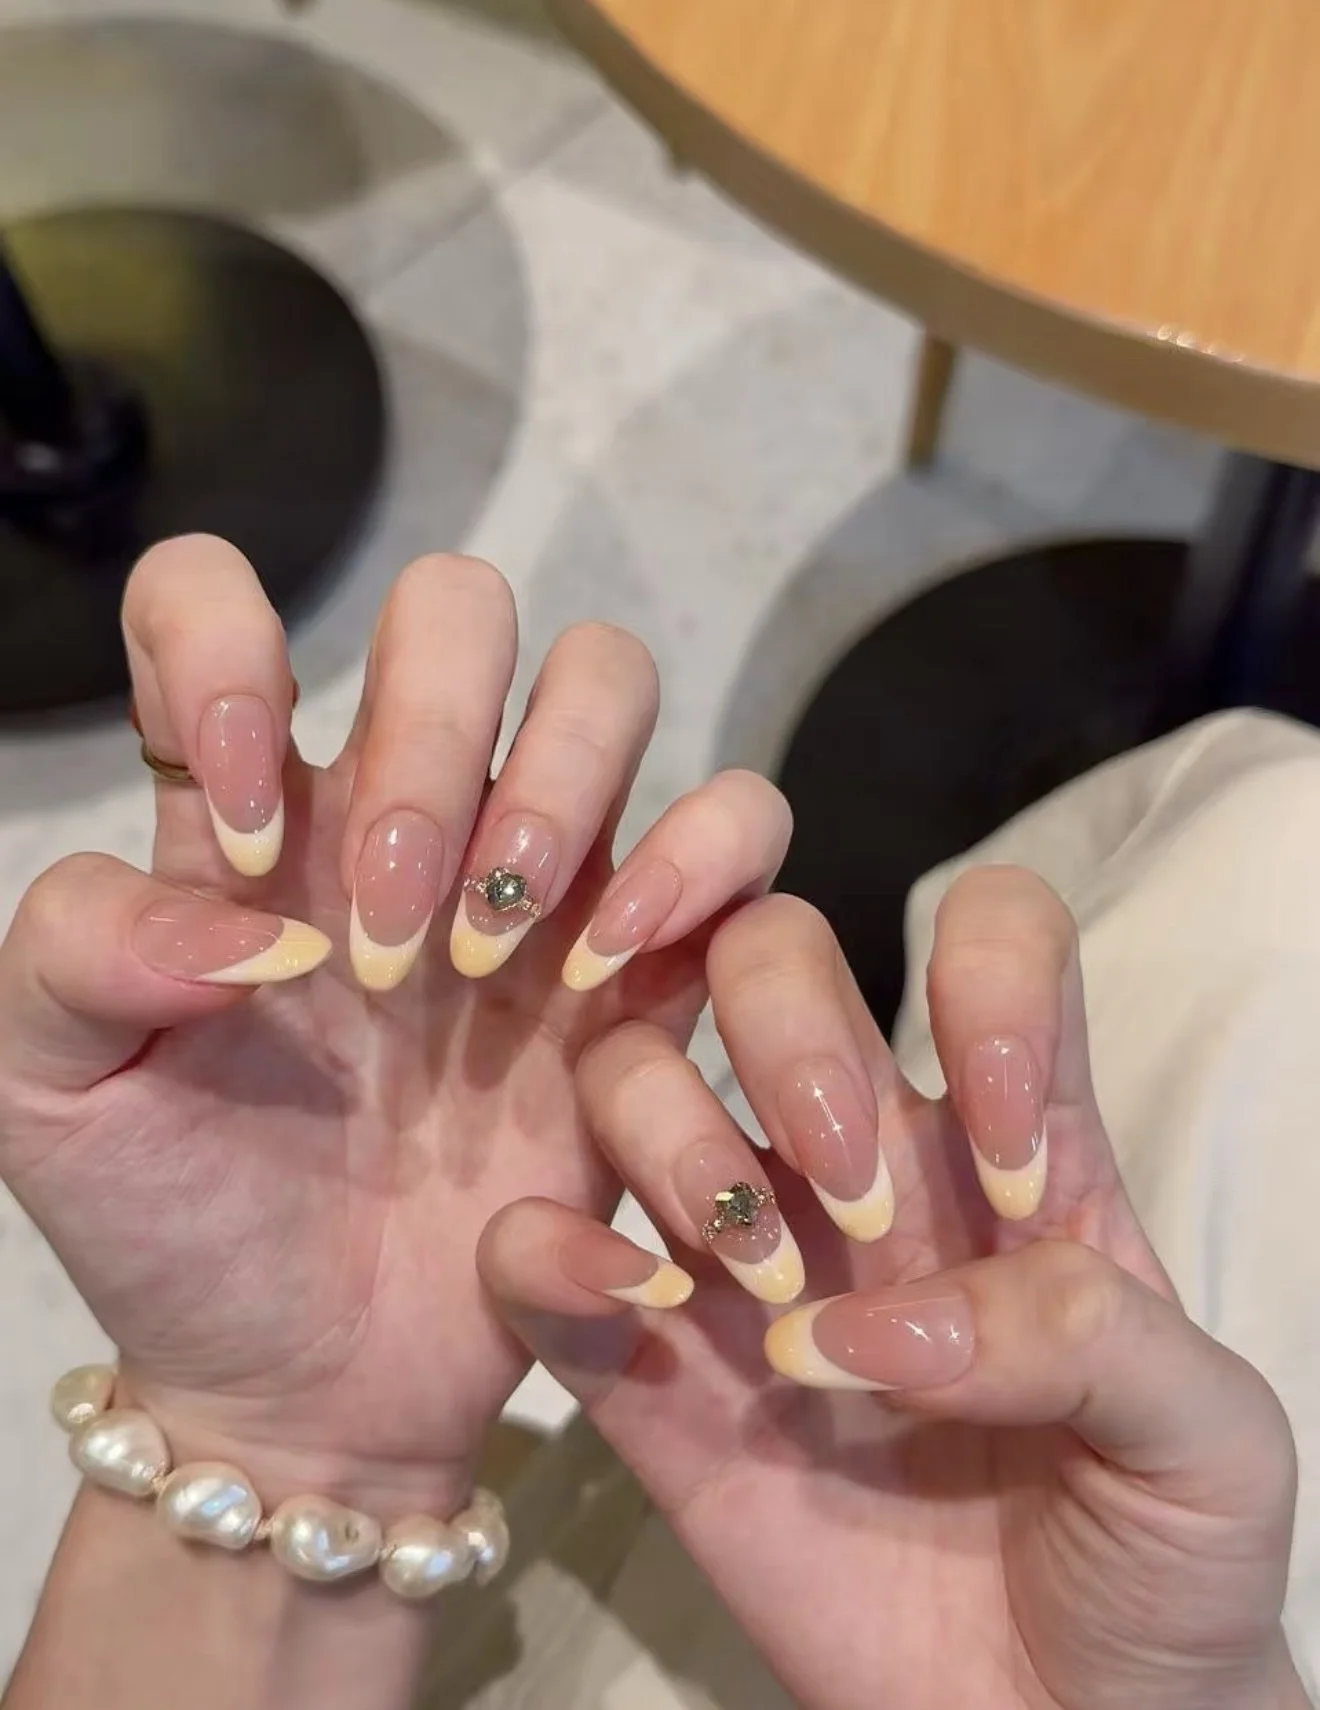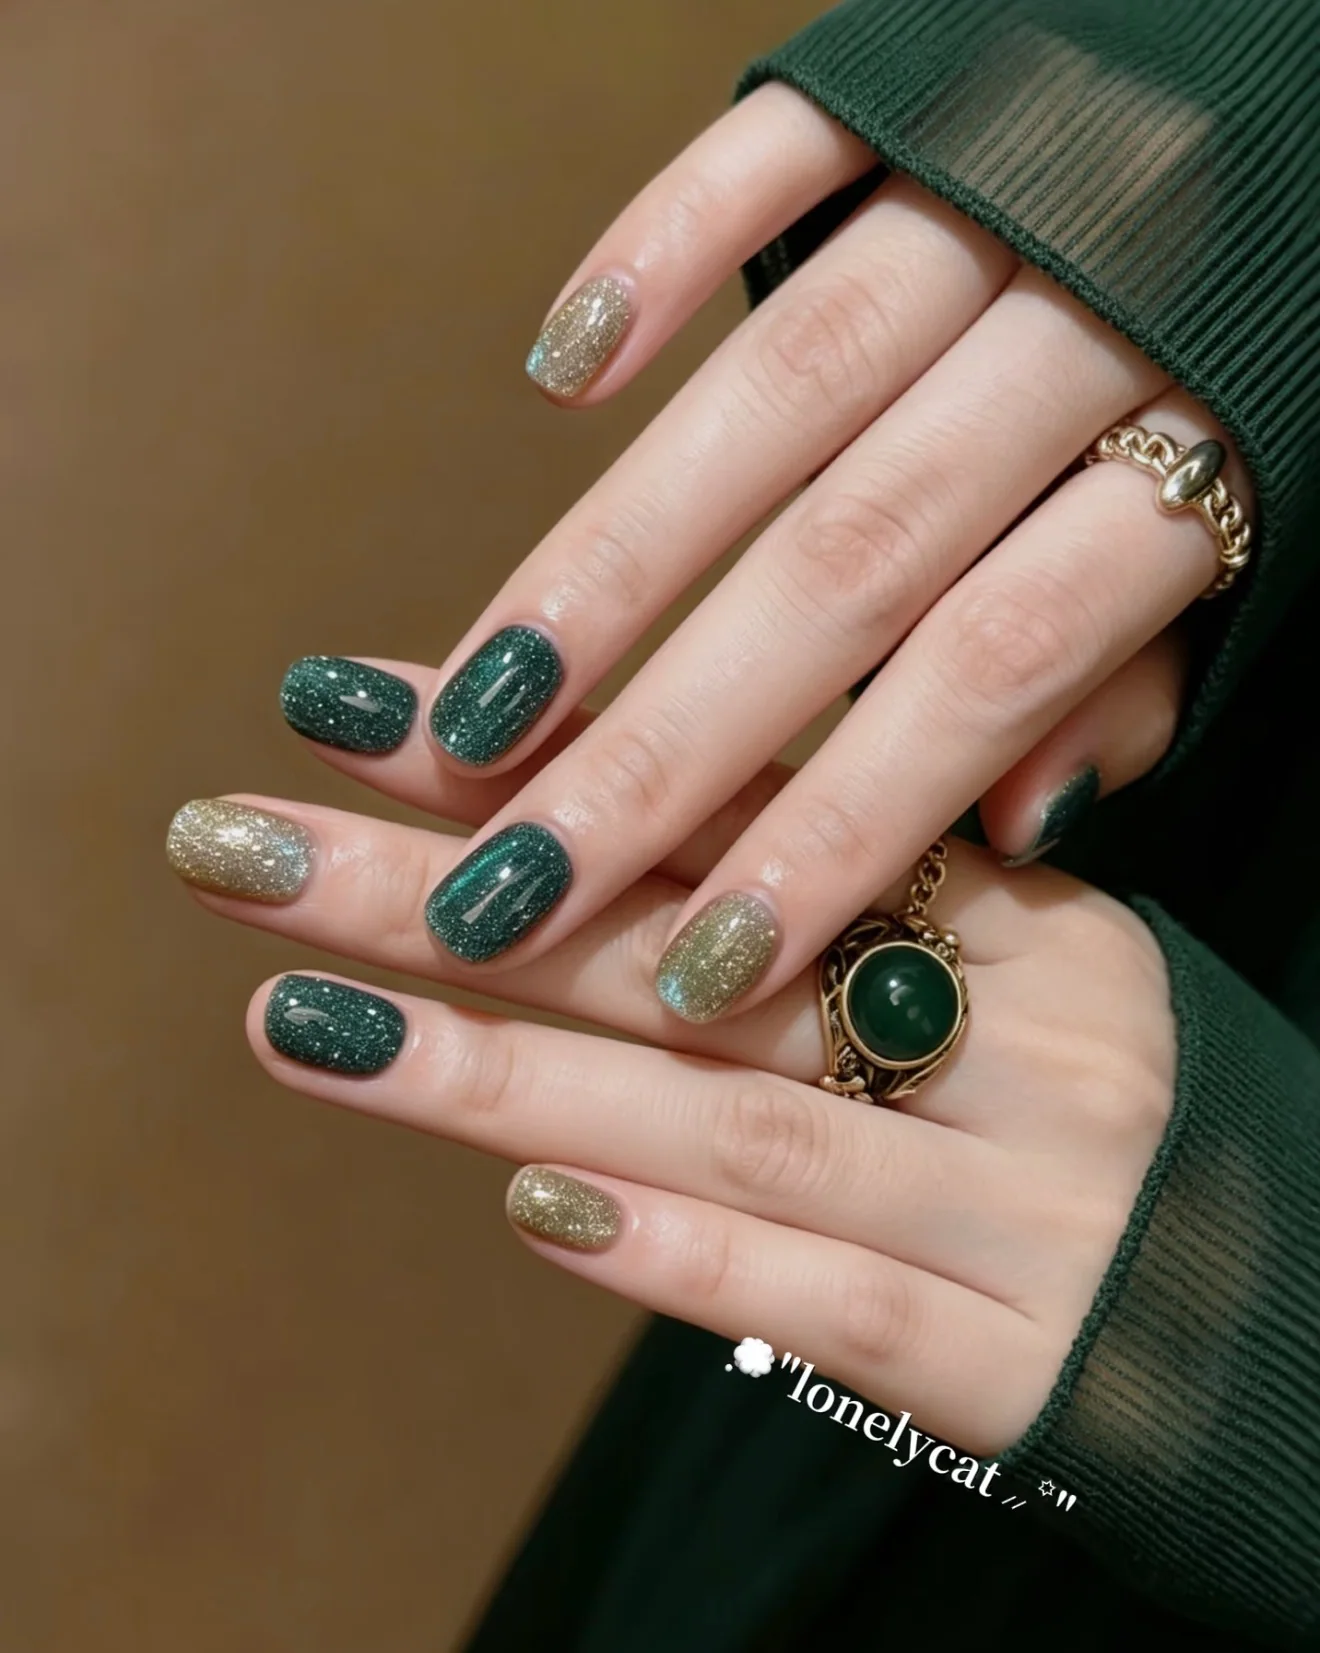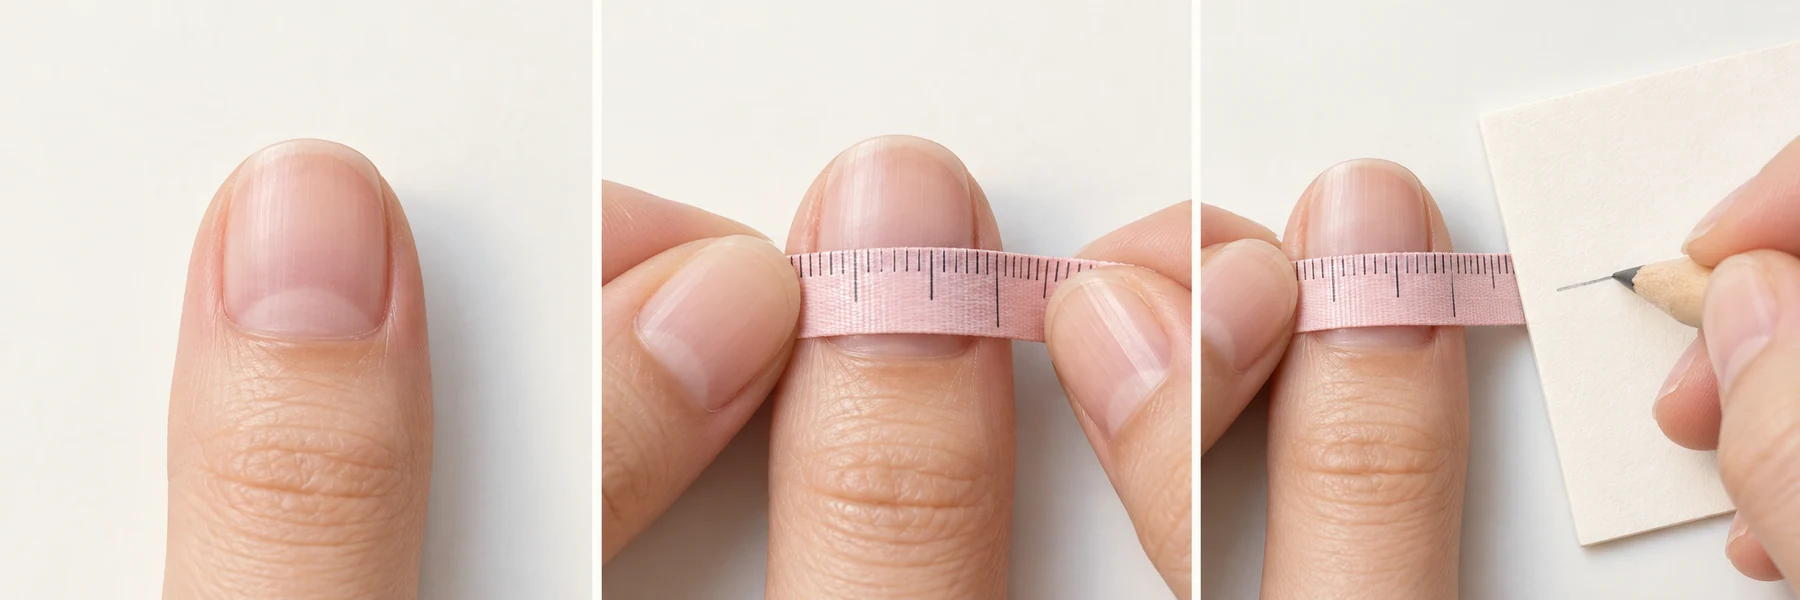
The best way to measure your nails for press-ons is to measure the width of each natural nail at its widest point, in millimetres. Write down all ten numbers, then match each finger to its closest size — XS, S, M or L. A press-on that is slightly too large can be filed at the edges for a snug fit; one that is too small will pull at the sidewalls and lift within days.
Key takeaways
- Press-on nails are matched by the width of your natural nail, measured in millimetres at its widest point — not by the length of the nail.
- WHATNAIL sets come in four sizes — XS, S, M and L — and every set is handmade to order in the shapes listed on its product page.
- If you fall between two sizes, order the larger one: a slightly roomy press-on can be gently filed at the edges, while a too-small one cannot be stretched.
- Your two hands often measure differently, so measure all ten fingers instead of mirroring one hand onto the other.
- Measure on clean, dry nails — freshly soaked nails swell slightly and give readings that run a touch large.
Why width is the number that matters
A press-on nail sits on top of your natural nail plate, so the real fit question is width: does the artificial nail cover the plate edge to edge without pressing into the skin on either side? A good fit leaves the press-on edge sitting just inside your natural nail's sidewalls, with no pressure on the surrounding skin and no gap where water can creep underneath.
Length is a different story. Most wearers trim or file the free edge of a press-on to taste, and a too-long nail is easy to shorten with the mini file from your kit. Width, by contrast, is fixed the moment the set is made — which is why the measuring tape matters more than the ruler for this job.
What you need
A soft measuring tape — the flexible kind used for sewing — is the easiest tool for this. A clear straight ruler works too, though it is harder to follow the curve of the nail. If you have neither, cut a narrow strip of paper, mark the width on it with a pen, then measure the strip against any ruler. Keep your phone's notes app open so you can record each measurement as you go.
The tape method, step by step
1. Start with clean, dry nails
Remove any old polish or leftover adhesive, and make sure your hands are dry. If you have just showered or washed dishes, wait at least 30 minutes — nails absorb water and expand slightly, then contract as they dry, so a fresh-from-water measurement runs a little large.
2. Find the widest point
On most fingers this is across the middle of the nail plate, a few millimetres above the cuticle. Lay the tape across the curve of the nail — following the arc, not pressed flat into the sidewalls — and read the width in millimetres, to the nearest half millimetre. The tape should rest on the nail, not dig into the skin.
3. Measure all ten fingers, one at a time
Label each reading as you go: left thumb, left index, and so on through the right pinky. Left and right hands frequently differ by half a millimetre or more — it is completely normal for your right index to take a different size than your left.
4. Measure twice
Run through all ten fingers a second time. If any reading changes by more than half a millimetre, measure that finger a third time and take the middle value. Two minutes of double-checking here saves the disappointment of a set that fits nine fingers and fights the tenth.
Reading your measurements
Match each finger to the size whose width sits closest to your number. S is the most common fit across the collection, but go by your own readings rather than by what is typical. When a measurement falls squarely between two sizes, choose the larger — the fitting rule that matters most in press-ons is this: a slightly roomy nail can be adjusted, a too-small nail cannot.
A gently filed edge disappears into the overall look, especially on smooth, minimal designs. A too-small nail, on the other hand, puts constant outward pressure on the adhesive bond and is the most common reason a single nail pops off while the other nine hold.
Common measuring mistakes
- Measuring only one hand. Hands are rarely mirror images; always measure both.
- Measuring over old polish or gel. Even a thin layer of product adds width and throws off the reading.
- Pressing the tape into the skin. The tape follows the nail's curve — pushing it into the sidewalls adds phantom millimetres.
- Measuring right after soaking. Swollen nails read large; dry hands give the true number.
- Sizing up "to be safe" on every finger. The between-sizes rule applies per finger, not as a blanket upgrade — a whole set ordered one size up will feel loose.
- Confusing length with width. Long natural nails do not need a larger press-on size; width alone decides the fit.
How sizing works at WHATNAIL
Every WHATNAIL set is handmade to order in sizes XS, S, M and L. You choose your size on the product page before adding the set to your bag, and the set is then crafted for you — which is why the measurements are worth getting right. Because each set is made to order and press-ons are hygiene products, all sales are final: no returns, exchanges or refunds.
Each design also lists the shapes it is actually made in, so check the product page for the combination of shape and size you want. Sheer, forgiving designs such as Cashmere Glass — made in all five shapes — make small edge adjustments nearly invisible, while sculptural designs like Fine Line are offered in the silhouettes that suit them best. If you are choosing between two designs, many customers order two sets at once: shipping is a flat $5.99 on single-set orders and free on orders of two or more sets.
Try the fit before the adhesive
When your set arrives, lay out all ten nails and dry-fit each one before opening any adhesive. The edge of the press-on should sit just inside the sidewalls of your natural nail, with no pressure on the skin. If one nail sits slightly wide, take the mini file and gently file the sidewall edges a fraction at a time, checking the fit as you go — slow and even wins here.
Once the dry fit looks right on all ten fingers, you are ready for the full routine: prep, adhesive and application, covered step by step in our application guide. A well-measured set, carefully applied, is the quiet foundation every long-wearing manicure is built on.