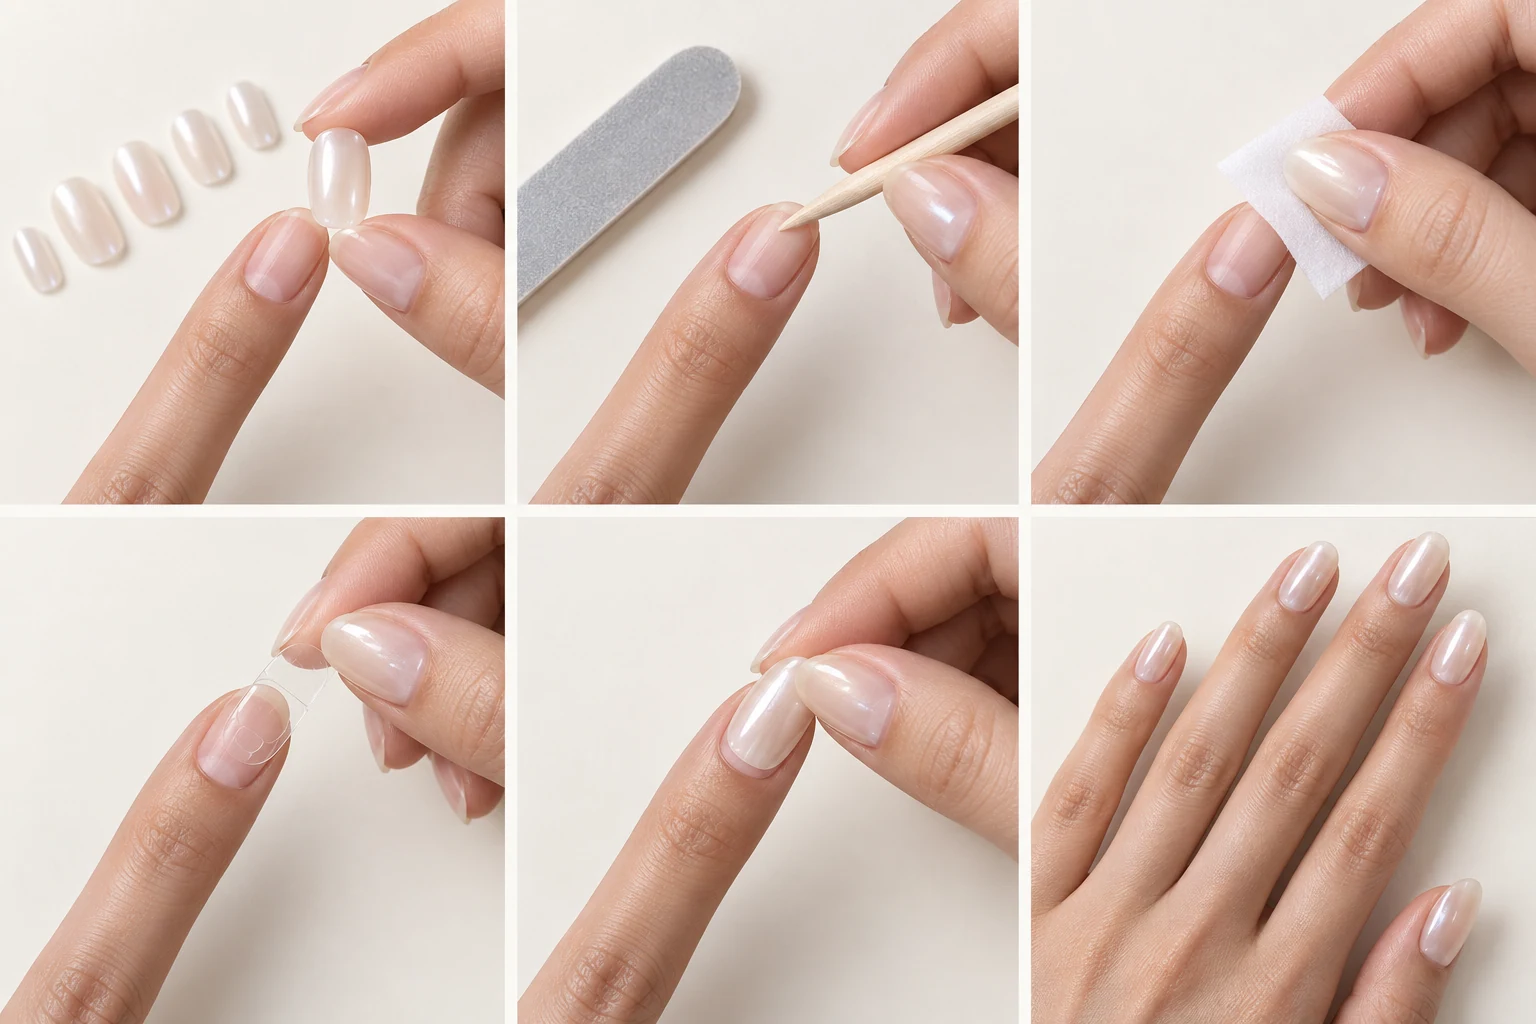
Yes — with nail glue, careful preparation and a few good habits, a handmade press-on set can hold for up to two weeks. Adhesive tabs usually give 3–7 days of wear, solid gel gives 7–15 days, and nail glue gives 15–30 days — but your preparation matters at least as much as the adhesive you choose. This guide walks through the full routine: sizing, nail prep, application, and the first-day habits that add the most wear time.
Start with the right fit
Most lifting problems begin with sizing, not adhesive. A press-on that is even slightly too small puts stress on the sidewalls; one that is slightly too large leaves a gap where water and oil creep under the edge. Lay out all ten nails before you open any adhesive and match each one to its finger. The edges of the press-on should sit just inside your natural nail's sidewalls without pressing into the skin.
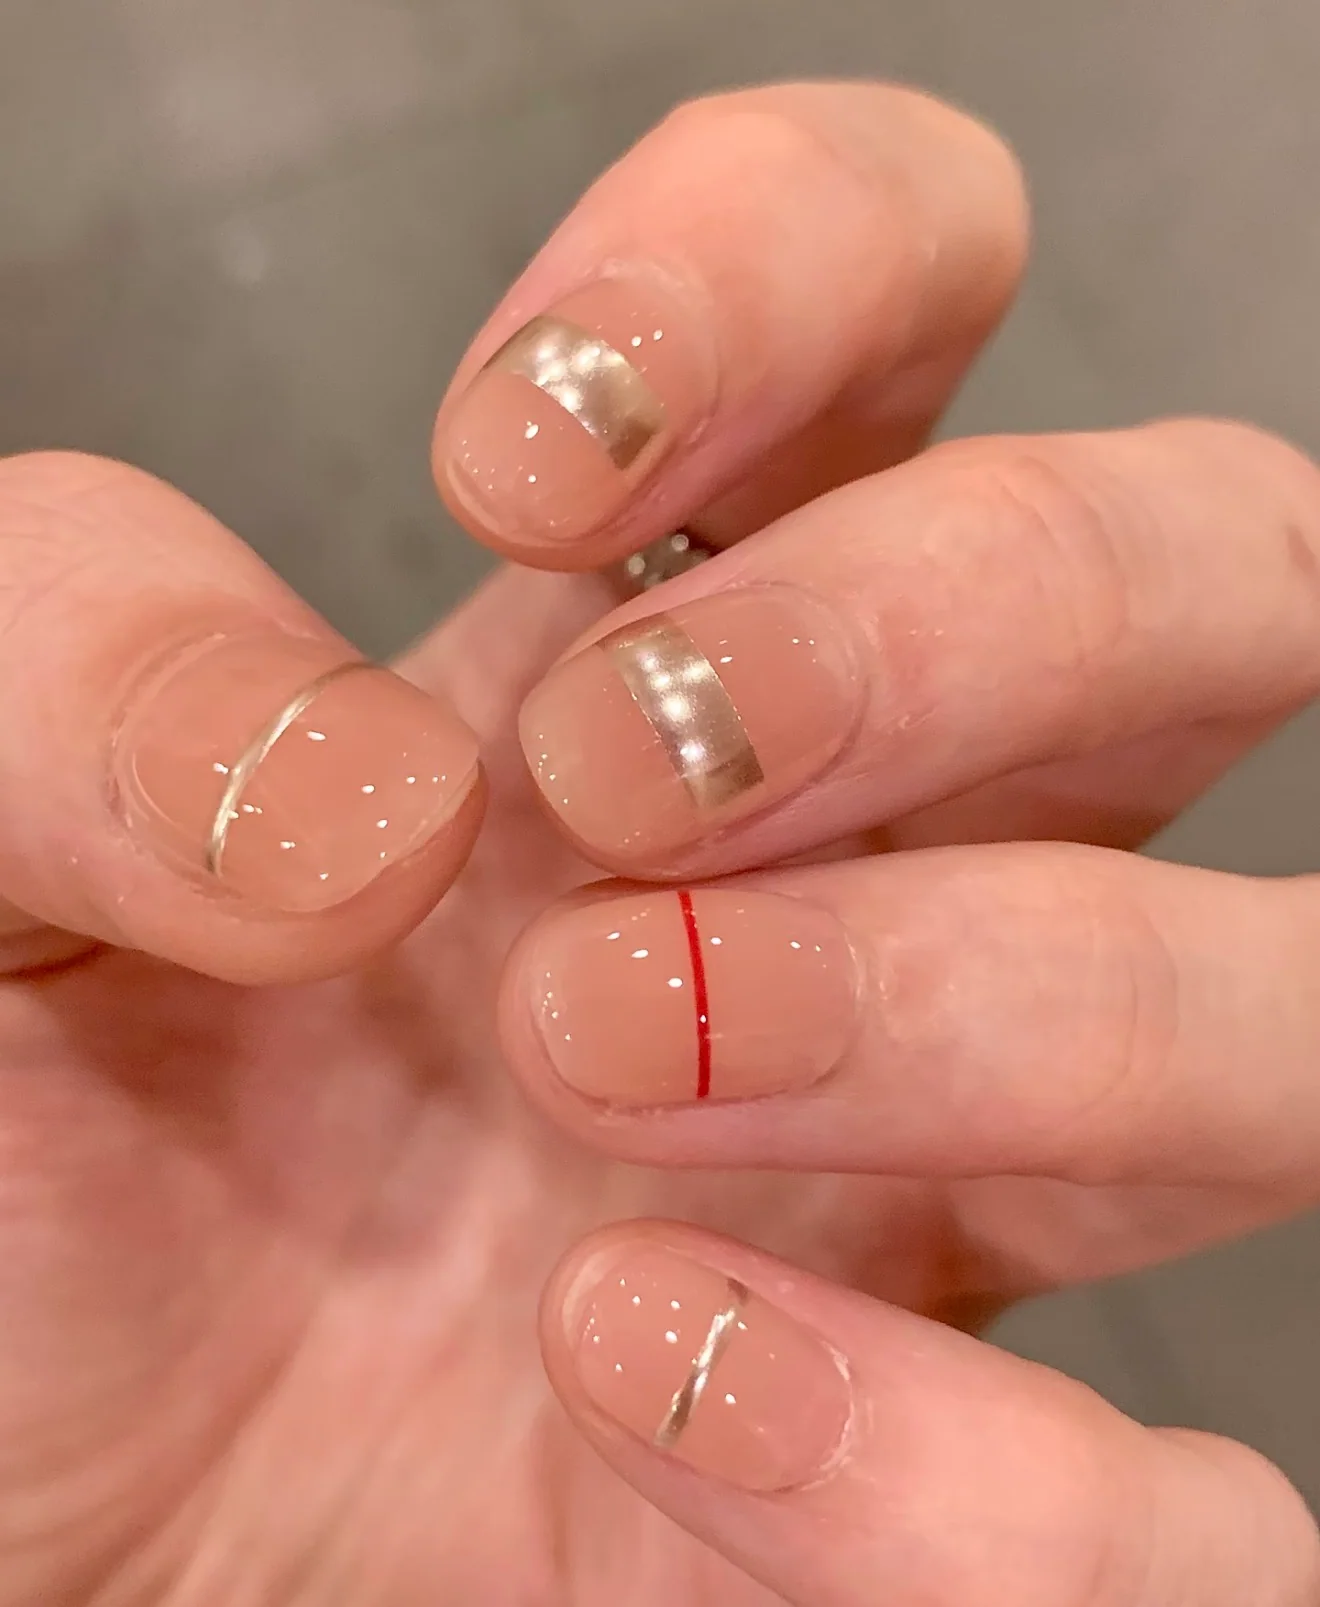
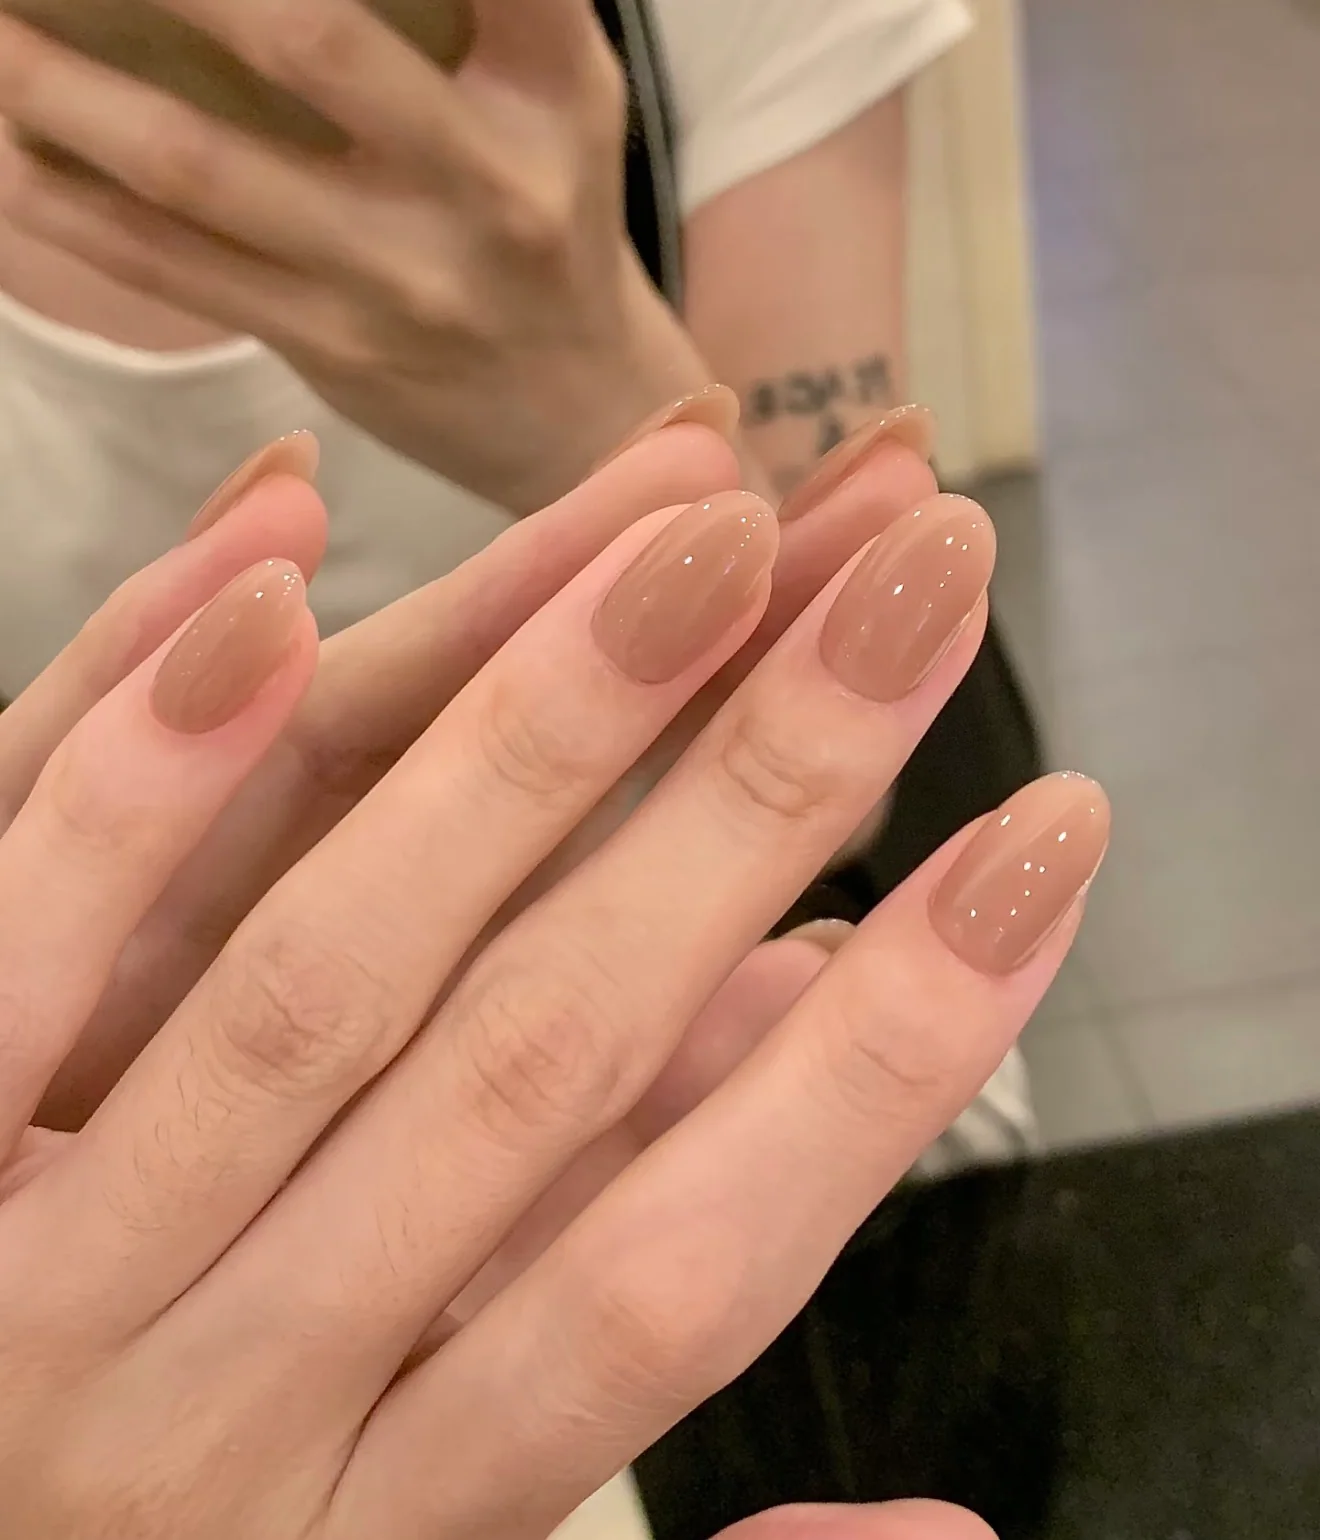
WHATNAIL sets come in XS, S, M and L — measure each natural nail at its widest point in millimetres, and when you fall between two sizes, choose the larger. A slightly roomy nail can be gently filed at the edges for a snug fit; a too-small nail cannot be stretched. Minimal, smooth designs such as Fine Line or Cashmere Glass are forgiving first choices, because their clean surfaces make small fit adjustments invisible.
Preparation: the part most people rush
Adhesive bonds to clean, dry nail — not to oil, lotion or leftover polish. Give this stage five unhurried minutes and you will feel the difference in wear.
1. Push back the cuticles
Use the cuticle stick from your kit to gently push back the cuticles on all ten fingers. Adhesive applied over cuticle skin lifts within days, so a clean nail plate is the goal.
2. Buff lightly
Take the mini file and lightly buff the surface of each natural nail — just enough to remove the shine. You are creating a slightly textured surface for the adhesive to grip, not thinning the nail. Wipe away the dust with a dry brush or cloth.
3. Clean with the alcohol pad
Wipe each nail with the alcohol pad and let it dry completely. This removes the last traces of dust and natural oil. From this point on, avoid touching the nail surface with your fingertips — the oil from your skin is enough to weaken the bond.
A useful tip: do this routine with dry hands. If you have just showered or washed dishes, wait at least 30 minutes — nails absorb water and expand slightly, then contract as they dry, which can loosen a fresh bond.
Choose your adhesive for the wear you want
Three methods, three wear windows. Pick the one that matches how long you want this set to last.
- Adhesive tabs (3–7 days): gentle, fast to remove and the best choice when you plan to reuse the set. Ideal for a weekend or a special event.
- Solid gel (7–15 days): a middle ground that needs a compatible nail lamp to cure. Works best with translucent designs that let light through.
- Nail glue (15–30 days): the longest hold. This is the method to choose when you want up to two weeks of continuous wear.
If your goal is two weeks, nail glue is the honest answer. Apply a thin, even layer — more glue is not stronger glue. A thick layer cures unevenly and creates a spongy bond that gives way sooner. Cover the natural nail from just above the cuticle to the free edge, leaving a hairline gap at the cuticle so no adhesive touches skin.
Apply: press, hold, and don't rush
Work one finger at a time. Align the press-on just above the cuticle line, lower it slowly toward the free edge to avoid trapping air, then press firmly for a full 30 seconds. Press from the centre outward so any excess adhesive moves toward the edges rather than pooling underneath.
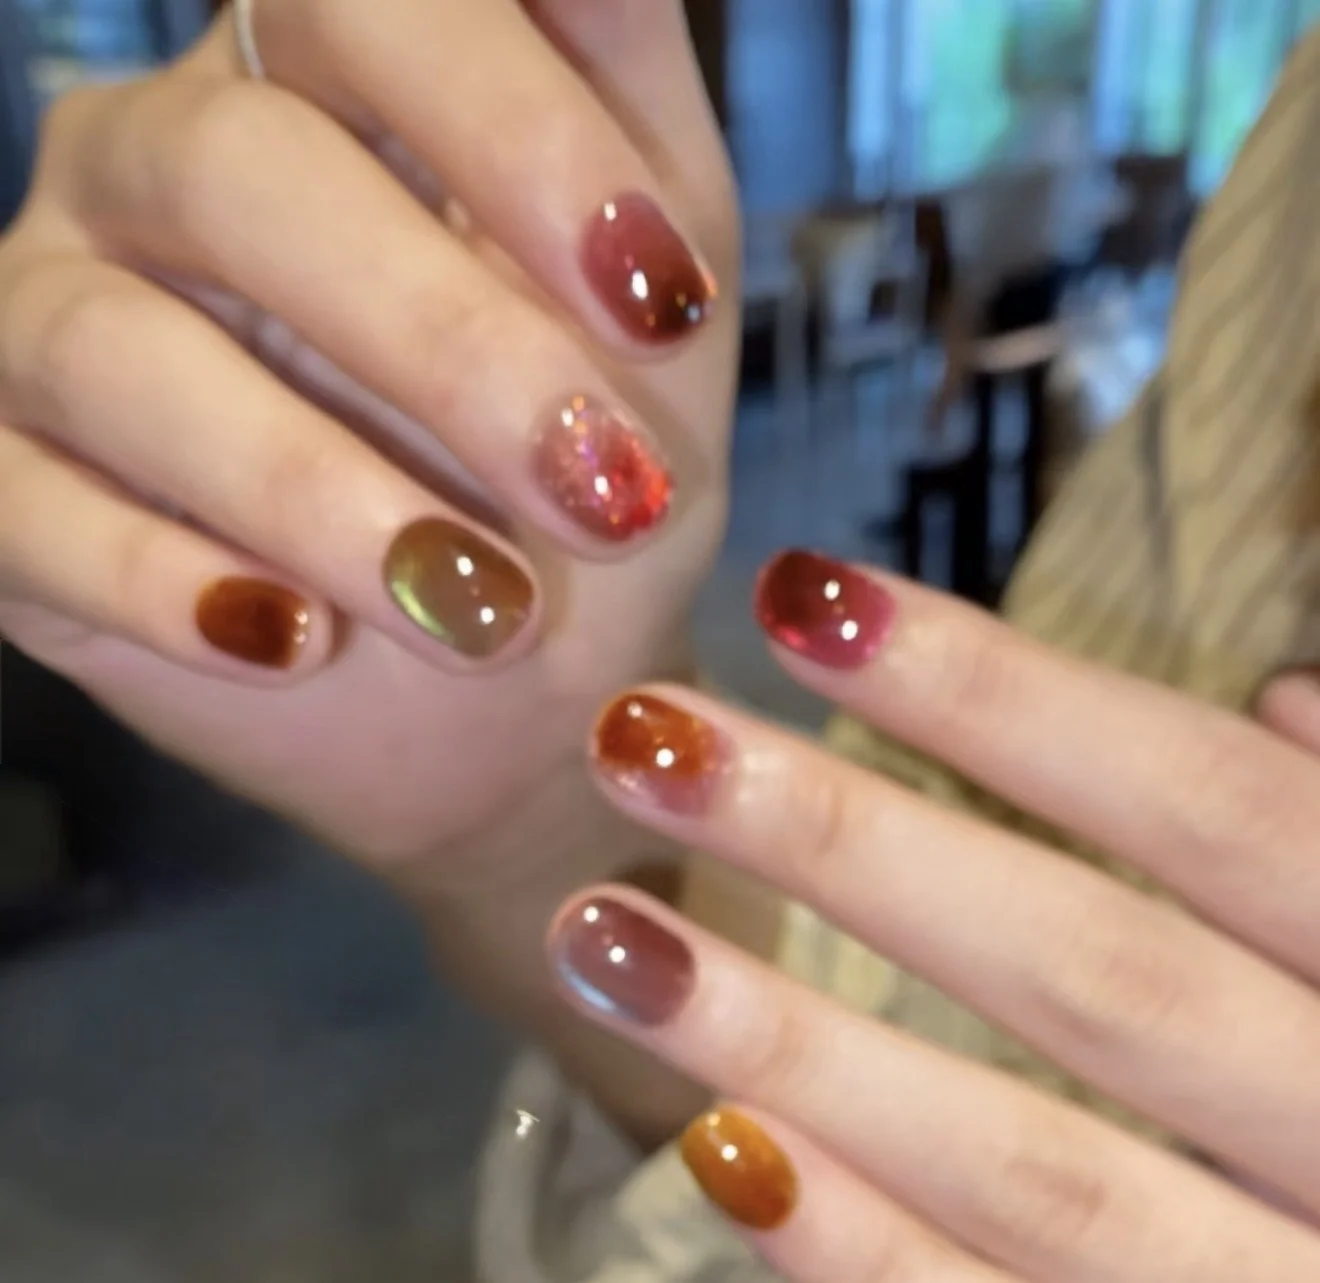
Check every edge once all ten are on. A tiny gap at one sidewall will become a lifting point by day three — if you spot one, it is worth removing that nail, cleaning it and reapplying now rather than repairing it later. Sheer, even designs like Amber Jelly make edge-checking easy, because light passes through the surface and reveals gaps immediately.
The first 24 hours matter most
Treat the first day as a curing period. Avoid soaking your hands, skip the long bath or swim, and wear gloves for dishes or cleaning. The bond reaches full strength as the adhesive finishes setting — water and steam in these early hours are the most common reason a well-applied set lifts early.
After the first day, normal life is fine: showers, typing, cooking. If a nail does pop off, don't panic — clean both surfaces, apply fresh adhesive and press it back on. A single repair, done well, can outlast the original bond.
Habits that add days
- Use your fingertips, not your nails, to open cans, peel stickers and press buttons.
- Keep nails at a practical length. Longer extensions catch on things; if your lifestyle is hands-on, a shorter round or square shape lasts longer.
- Moisturise the skin, not the nail plate. Apply hand cream to the backs of your hands and cuticle oil around — not under — the press-on edges.
- File snags early. If an edge catches, smooth it gently with the mini file before it becomes a crack.
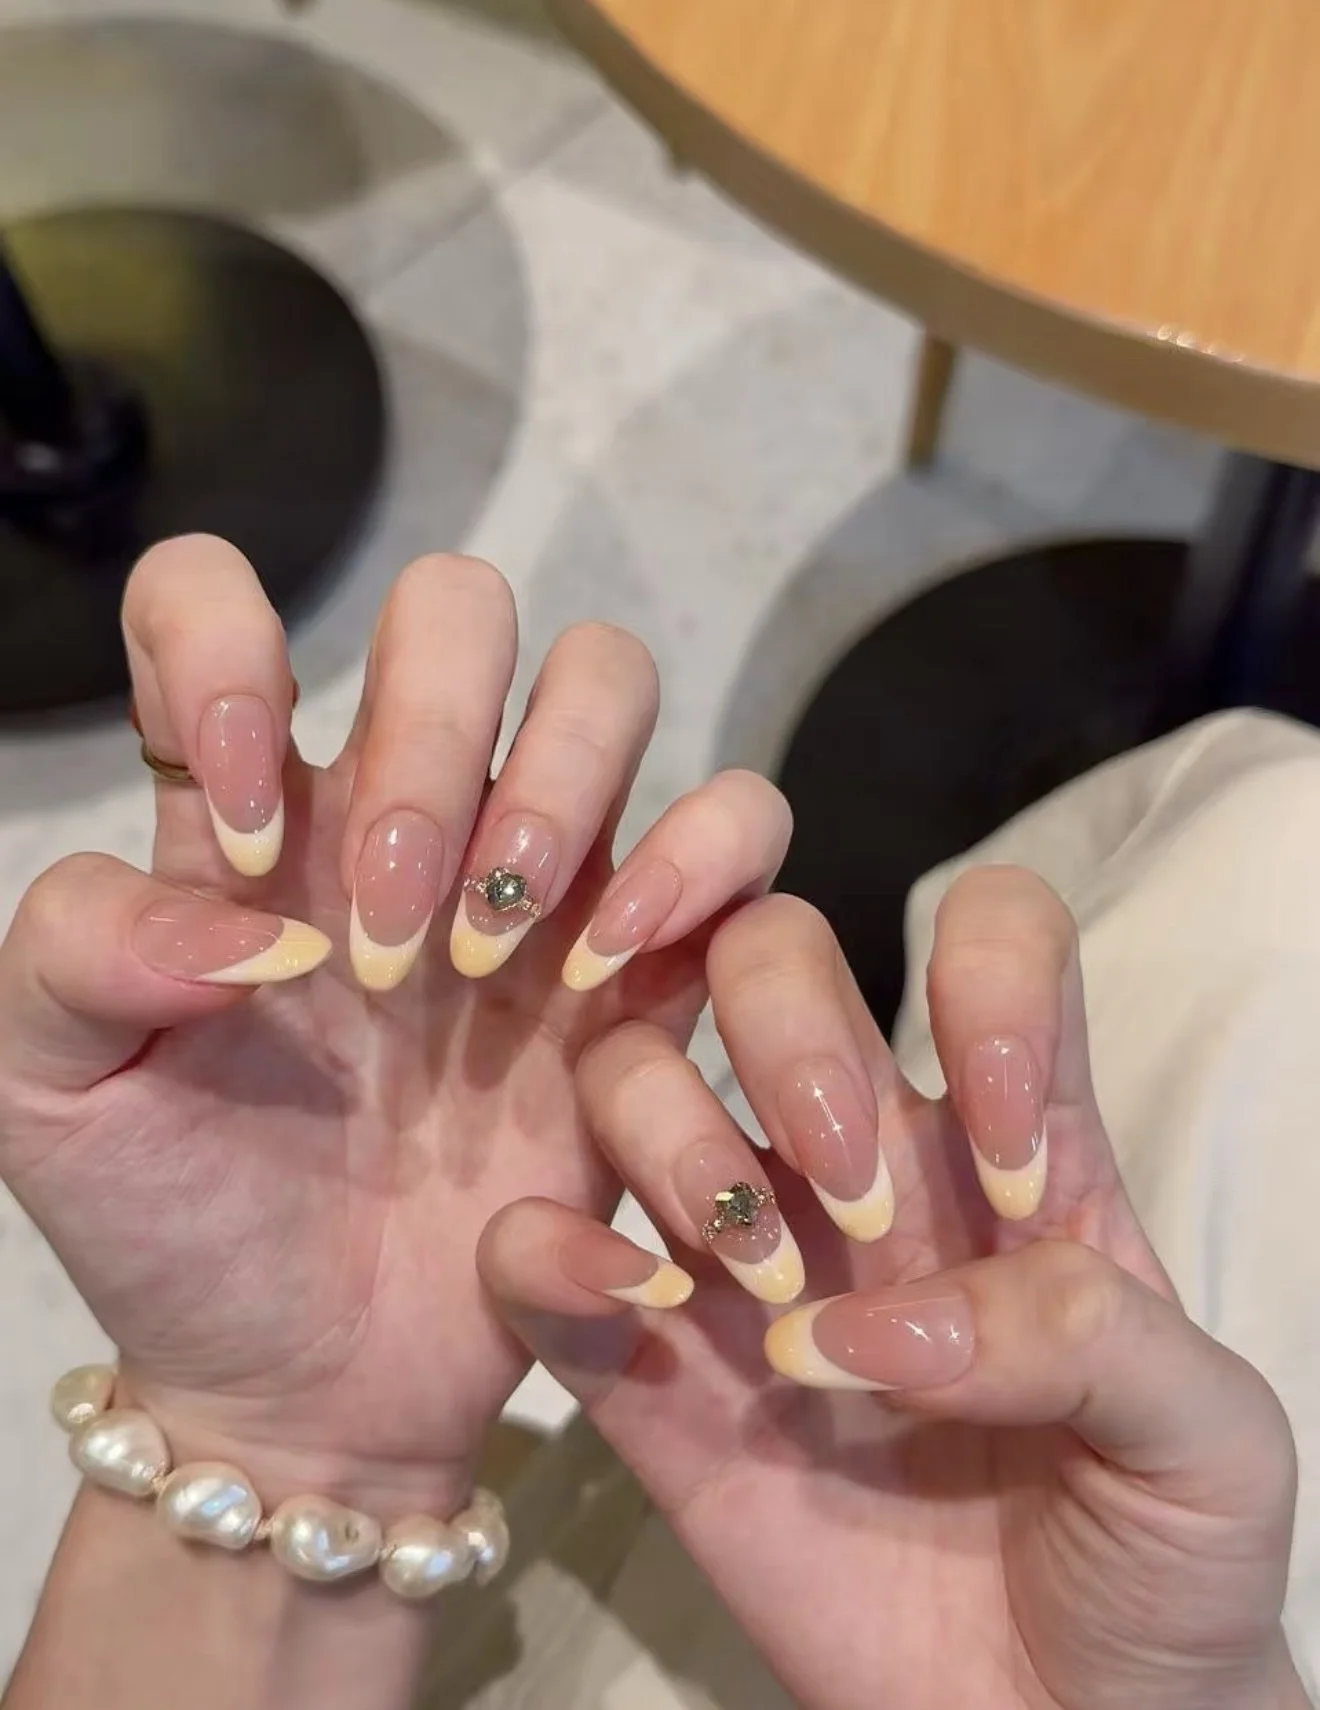
Classic, low-relief designs tend to outlast heavily sculpted ones in daily wear — Crème French, with its smooth sealed surface, is a good example of a design that handles two weeks of real life gracefully.
Removing the set
When the two weeks are up — or when you are ready for a change — soak your fingertips in warm, soapy water for 10–15 minutes, then gently lift each nail from the side with the cuticle stick. Never force or peel a nail that resists; soak longer instead. Sets worn with tabs can usually be cleaned and stored in their case for another wear.