A natural-looking press-on cuticle line starts with the right width, a comfortable curve and careful placement, not with sanding away the finished edge. Dry-fit every nail before applying adhesive, keep the tip off the skin and avoid adding product to disguise a gap. On handmade sets, preserving the sealed finish matters more than chasing an invisible join.
Key takeaways
- Accurate sizing and a comfortable tip curve make the cuticle line look neater without altering the finished nail.
- A press-on should not cover the cuticle or squeeze the skin at the sides of the nail.
- Extra adhesive cannot correct an unsuitable tip width or curve.
- Filing a finished handmade edge can disturb its sealed coating and should not be treated as a routine blending step.
What blending means for a finished press-on
In this guide, blending means making the transition between your natural nail and the finished tip look considered. It does not mean using a drill, acetone or an aggressive file to erase the join. A salon extension procedure and a reusable decorated press-on are different products, so techniques should not be copied between them without checking compatibility.
Look at the hand from a normal viewing distance as well as close up. A small visible boundary is not automatically a problem. The useful checks are whether the nail sits comfortably, whether the edge follows your nail bed and whether the surrounding skin is free of adhesive. A neat application can look intentional without pretending the tip grew there.
Measure before choosing a set
Measure the widest part of each bare natural nail in millimetres, following the site's measuring guidance. Record all ten fingers separately instead of assuming both hands match. WHATNAIL offers XS, S, M and L sizing; compare your measurements with the chart and ask for guidance if the preset combination does not match your fingers.
Width is only one part of the fit. During a dry-fit, notice whether the tip rocks, needs pressure to settle or leaves a noticeable opening. Do not force it flat or assume that adhesive will make an unsuitable curve comfortable. A different tip is a more useful solution than modifying a finished design extensively.
Choose a design you can assess easily
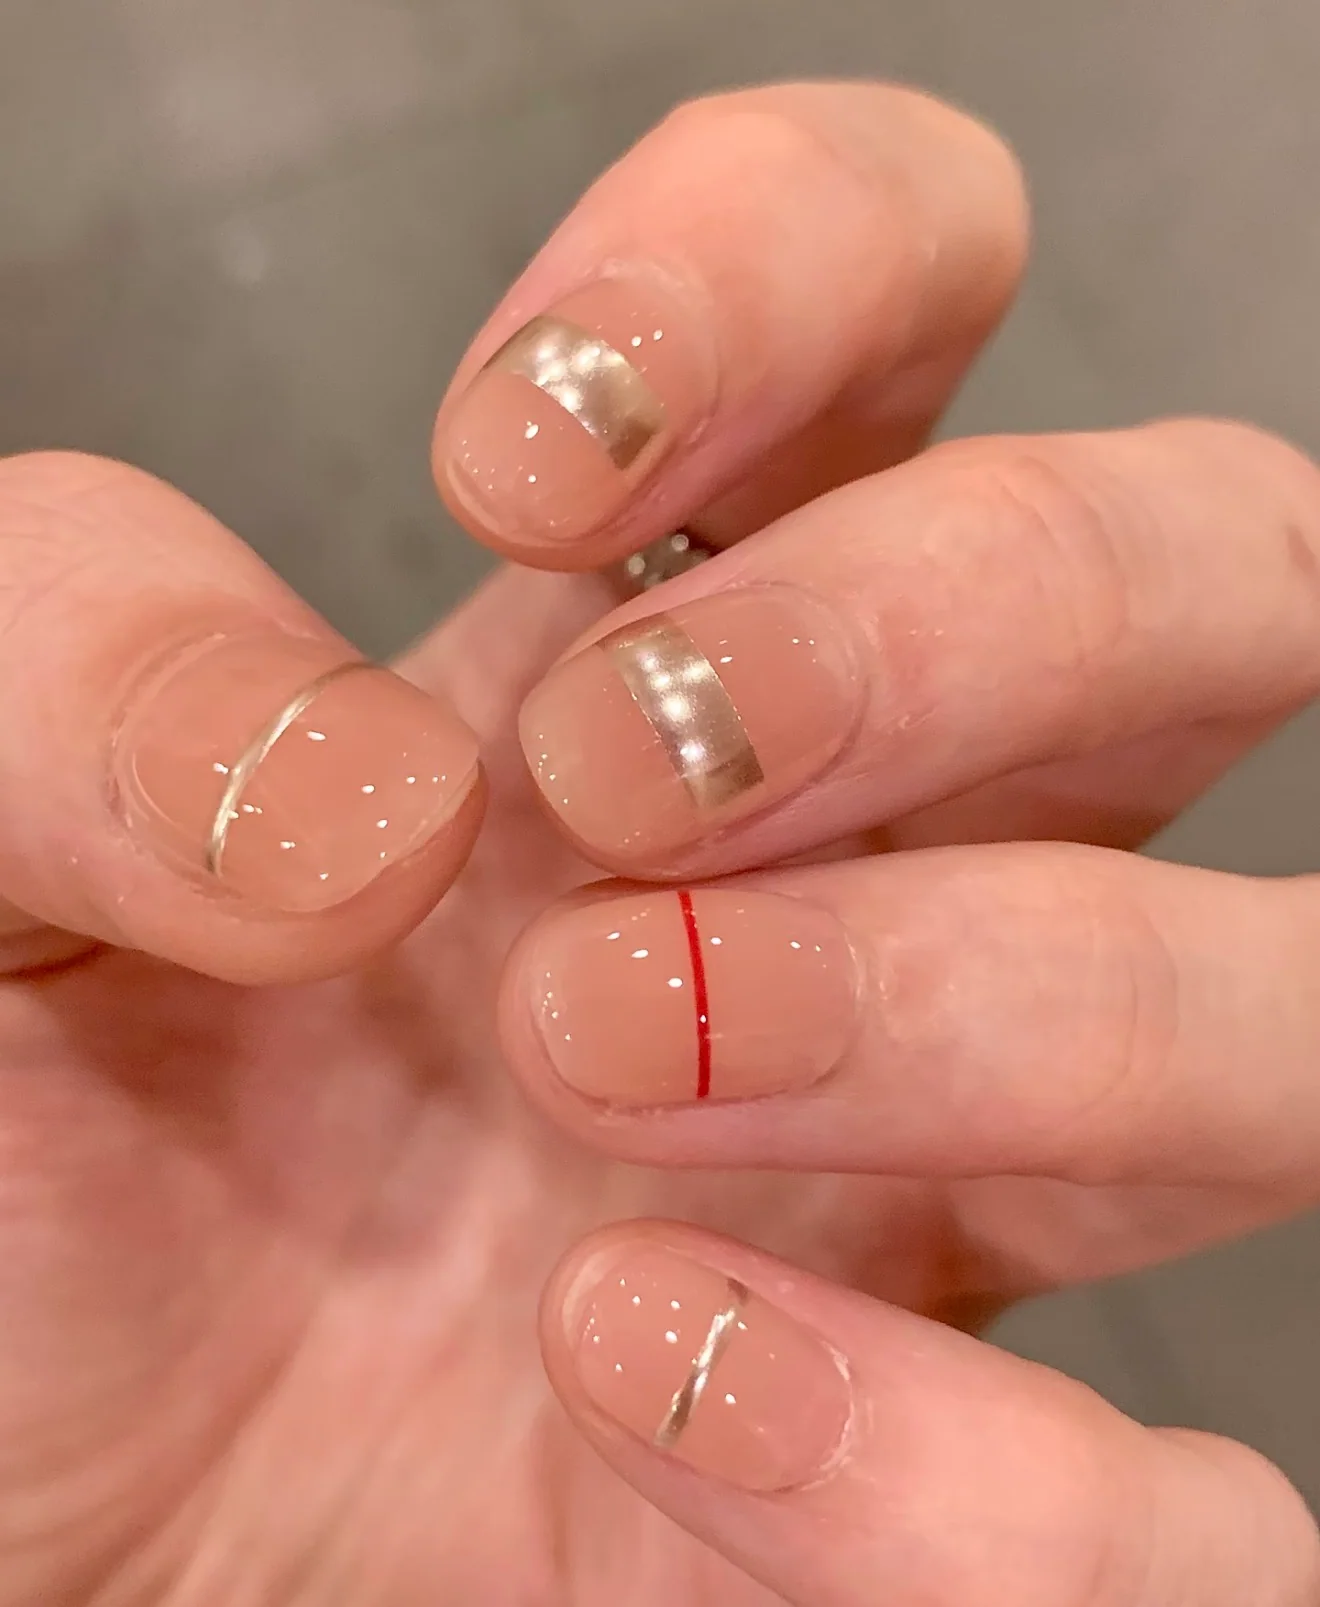
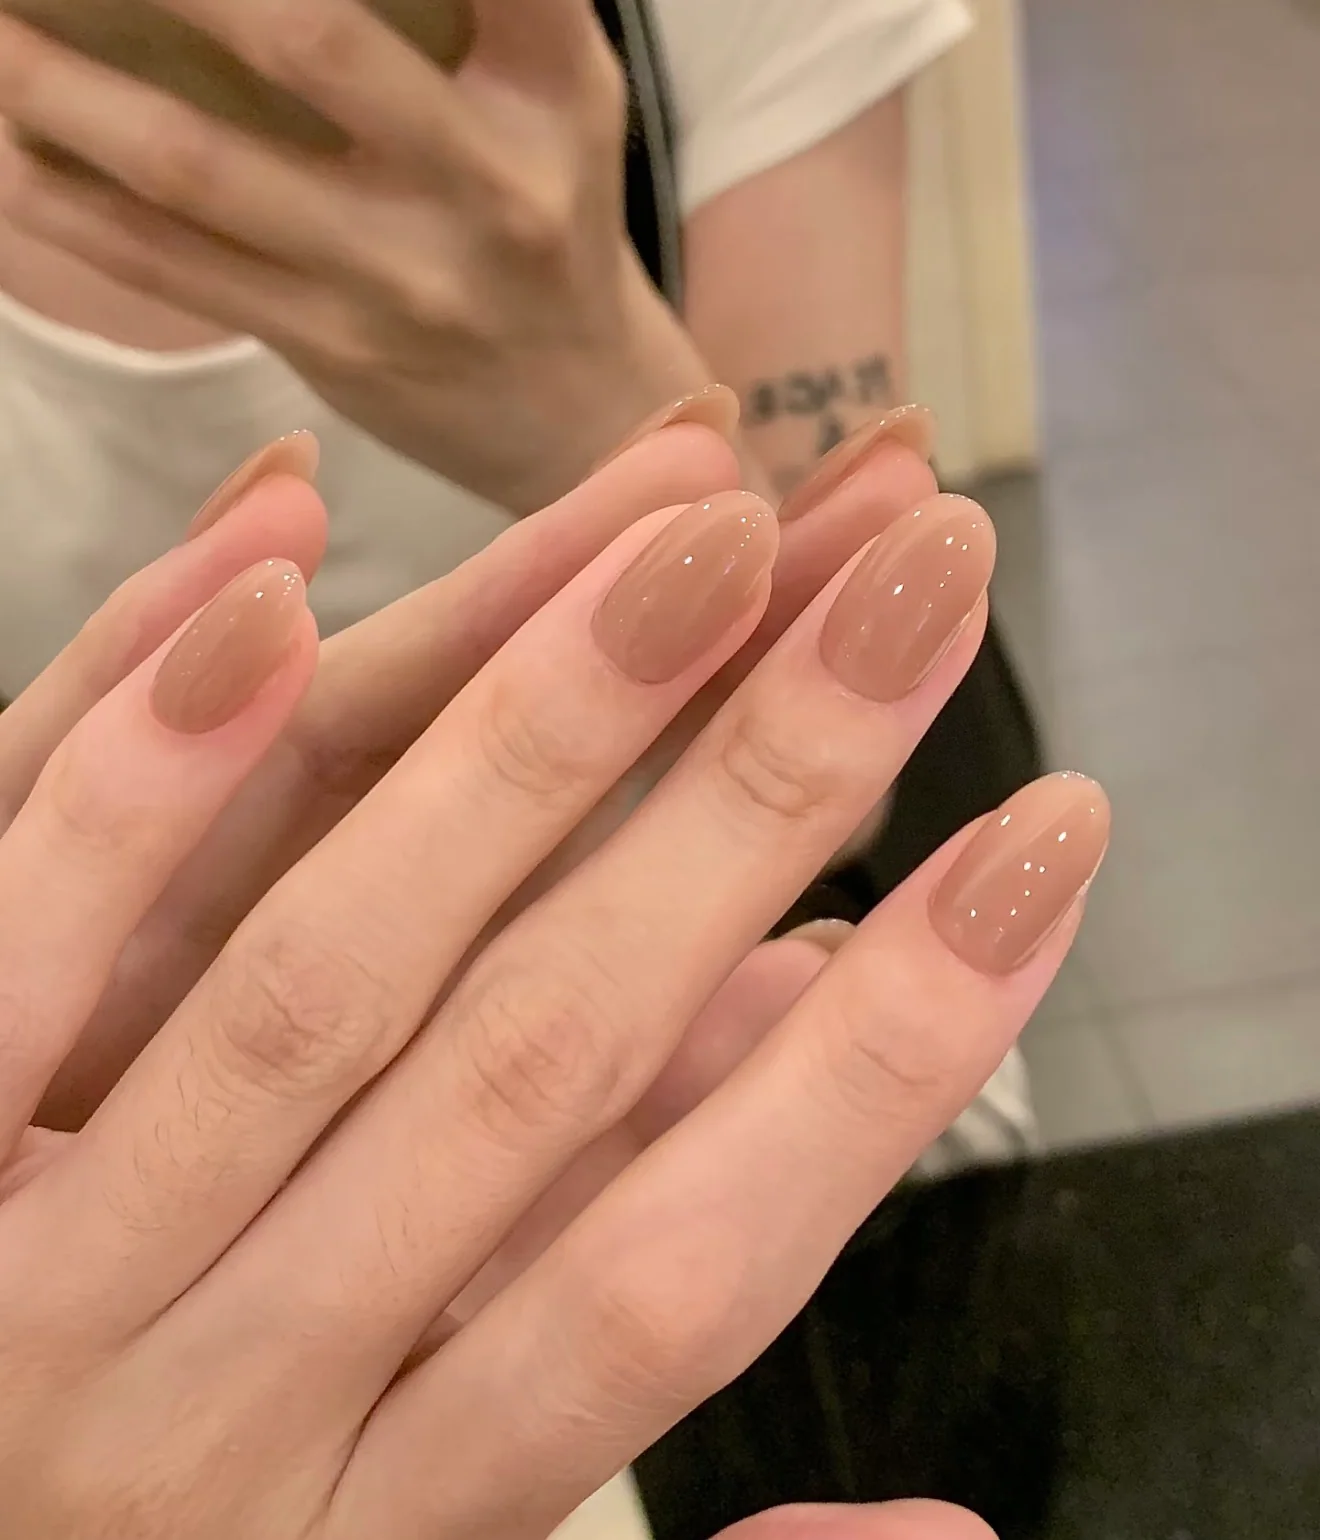
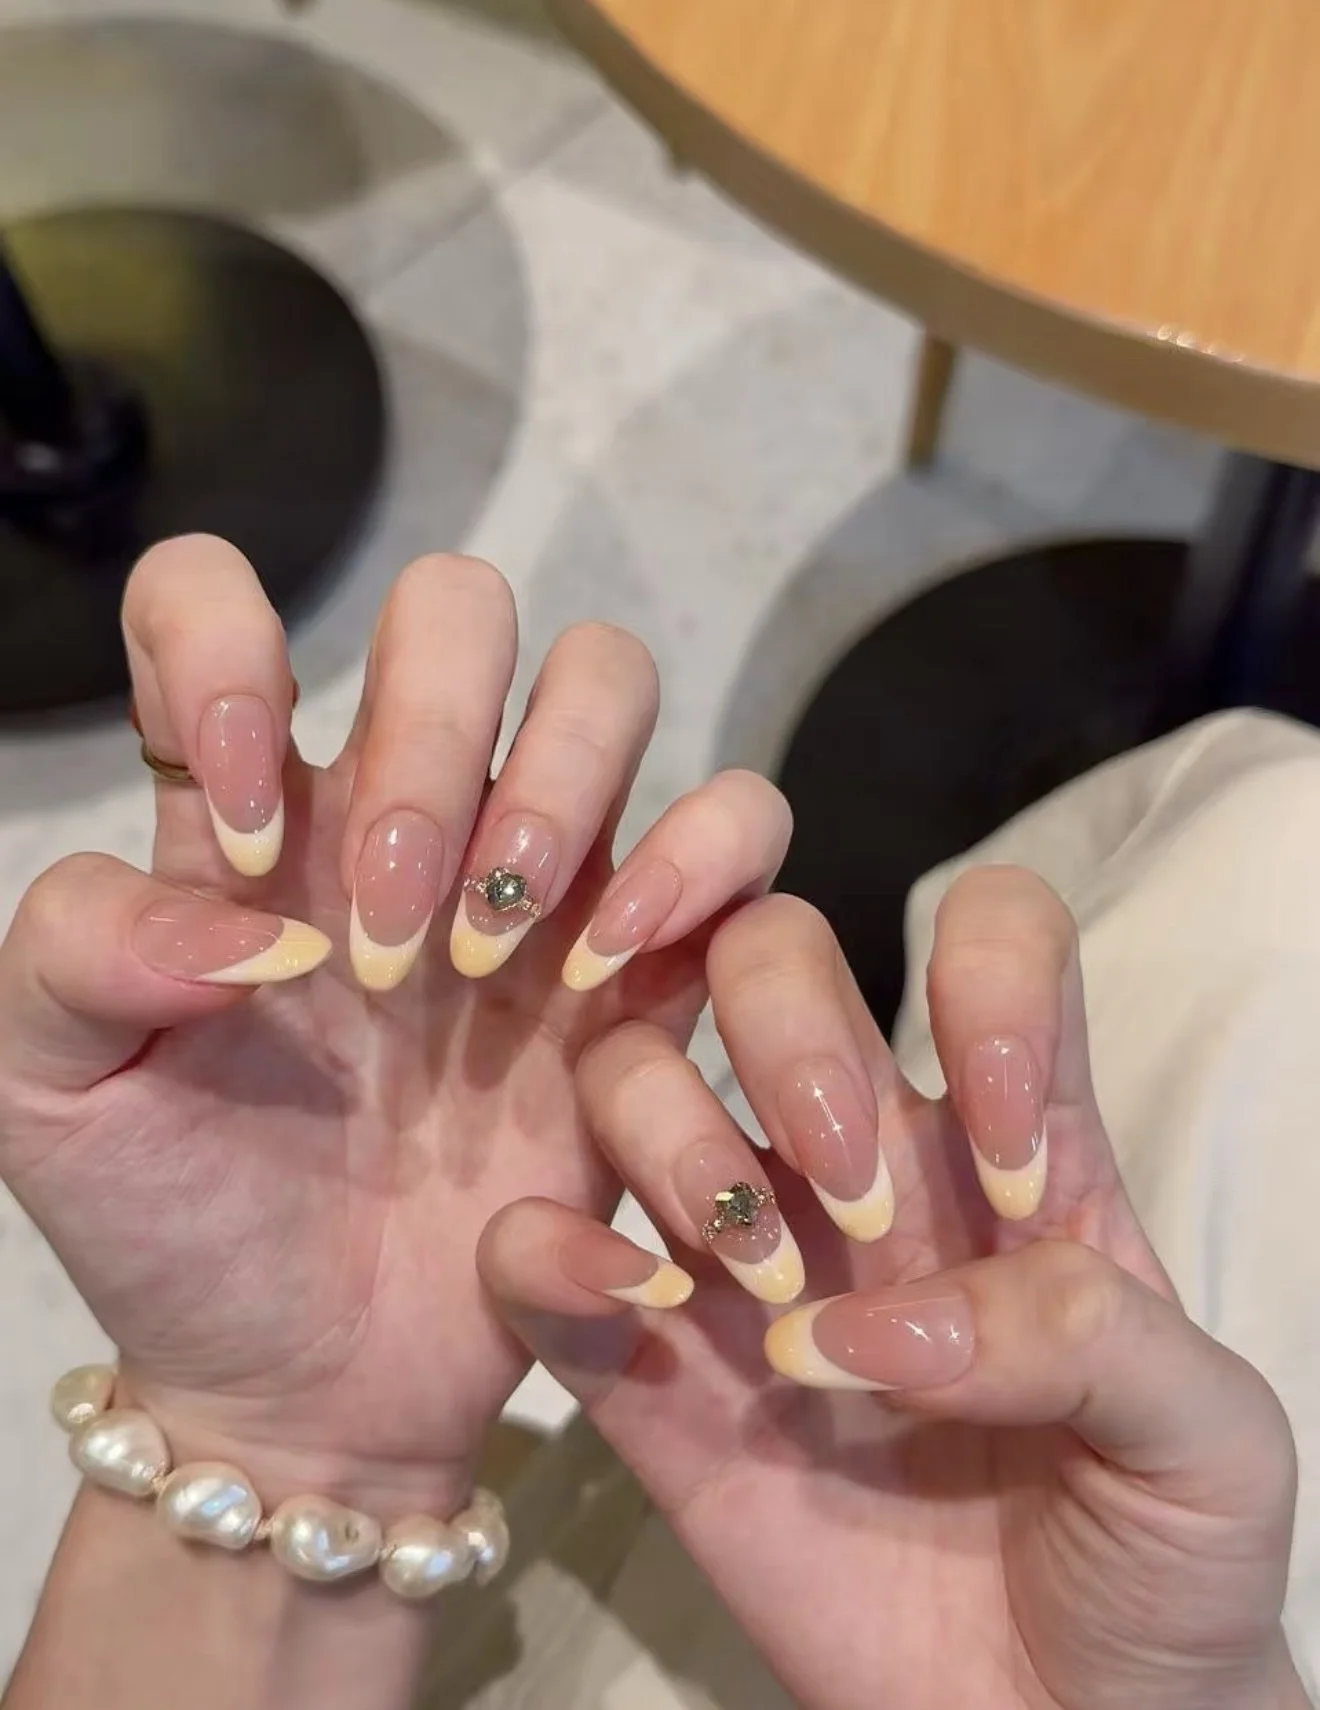
A quieter finish can help you focus on the placement rather than on aligning elaborate decoration. Explore Fine Line for a restrained design, Cashmere Glass for a soft styling option, or Crème French for a classic tip-led look. Check the actual shape options and photographs on each product page before choosing.
These are styling suggestions, not a promise that one design fits every nail bed. A sheer appearance also does not establish compatibility with a light-cured adhesive. Choose the attachment method according to the finished set and the adhesive instructions, rather than assuming that a particular colour can be used with any product.
Dry-fit in good light
- Lay the tips out in finger order on a clean surface.
- Rest each tip on its intended nail without adhesive.
- Check the base, both sidewalls and the free edge.
- Compare the outline with the natural nail and note any pressure or rocking.
- Set aside unsuitable tips and resolve the fit before beginning application.
Check more than the front view. Turn the finger slightly so you can see whether one side is lifted. If the tip looks skewed, reposition it during this dry stage. Keep a note of finger positions so you do not lose a successful match when preparing the other hand.
Prepare gently, then place deliberately
Keep the surface clean
Remove old polish or adhesive using a suitable method, then follow the new adhesive's preparation instructions. Keep the nail surface dry as directed. Do not aggressively buff the natural nail to compensate for poor sizing. If the nail or surrounding skin is uncomfortable or damaged, postpone application instead of hiding it beneath a tip.
Keep the base off the skin
Position the press-on according to the attachment instructions, with the base resting on the nail rather than on the cuticle. Do not slide it under skin to make the join disappear. Work one finger at a time so you can control alignment before the product sets. Clean up mistakes as instructed instead of letting overflow become part of the edge.
Use the specified adhesive amount
Follow the product directions for placement, pressure and setting time. A heavy layer can make the base look raised and does not repair a mismatched curve. If you cannot place the nail correctly, stop and restart according to the instructions rather than adding more adhesive around its perimeter.
Avoid three common shortcuts
First, do not sand a decorated cuticle edge until it looks thinner. You may remove part of the finish or expose layers that were sealed by the maker. Second, do not apply a top coat over a gap as a substitute for secure attachment. Third, do not glue a lifted edge back down without inspecting and cleaning the area through an appropriate removal and reapplication process.
If you want an adjustment, ask WHATNAIL whether it is suitable for your particular design. Advice for an undecorated plastic tip may not apply to a painted or embellished handmade set. The more detailed the finish, the more important it is to preserve the work already on the nail.
Keep the look neat between wears
Inspect the edges during wear and do not use the tips as tools to open packaging or scrape surfaces. Remove a loose nail appropriately rather than covering the opening with extra product. For the next wear, use the cleaning and storage guide to plan compatible care.
WHATNAIL sets are handmade to order and designed for reuse, with dispatch within 10 business days; delivery takes additional time. Confirm fit before ordering for an occasion. A thoughtfully chosen set, careful dry-fit and controlled placement offer a more repeatable result than reshaping a finished edge after it arrives.