To reuse press-on nails, remove them according to your adhesive's instructions, clean away released adhesive without damaging the pieces, and let them dry completely before storing them. For the next wear, inspect the fit again and apply fresh adhesive to clean, dry surfaces. Every WHATNAIL handmade set is reusable, but the condition of each nail determines when it is ready for another application.
Key takeaways
- Reusable press-on nails need adhesive-specific removal; warm water is not a universal remover for nail glue or cured gel.
- Fresh adhesive should be applied only after old residue has been removed and both surfaces are fully dry.
- Keeping each nail in finger order makes the next fitting session easier and helps prevent size mix-ups.
- A cracked, distorted or poorly fitting press-on should not be reapplied simply to extend a set's life.
- WHATNAIL makes every handmade, reusable set to order in sizes XS, S, M and L.
Start with removal, not cleanup
A repeat wear begins with how you take the set off. Before starting, identify whether you used adhesive tabs, nail glue or a lamp-cured adhesive. Read the directions for that specific product, including any restrictions for decorated tips. Do not substitute a routine from another adhesive just because the nails look similar.
Tabs may release with a method that is unsuitable for glue, while a remover specified for glue may affect a handmade finish. Never assume that a solvent is compatible with your set. If the adhesive instructions and the nail supplier's care guidance conflict, ask for clarification before proceeding. A reusable design still needs a compatible removal method.
Work slowly and support each piece rather than pulling from its free edge. If it resists release, return to the manufacturer's removal directions instead of adding force. Avoid using a metal tool to lever the nail away. Put released pieces on a clean tray so they do not disappear into a sink or get mixed with household items.
Clean each piece without changing its shape
Deal with released adhesive first
Check the underside in good light. When an old adhesive tab has released, gently remove its remaining film using the method recommended by its maker. Keep your fingers away from delicate embellishments while supporting the nail. Do not stretch the piece or repeatedly bend it to loosen residue.
For stubborn glue or cured adhesive, stop and check the removal instructions again. Scraping, drilling or aggressively filing the underside can change the fit or damage the handmade piece. Reusability does not mean every adhesive can be removed by the same household technique. Avoid adding another layer over residue simply to save a few minutes.
Check the finish before choosing a cleaner
Use only a cleaning method compatible with the nail material and decoration. Do not assume alcohol, acetone, oil or a long soak is appropriate for every finish. A gentle wipe recommended by the supplier is different from prolonged immersion. Keep abrasive brushes away from painted details and raised elements.
After cleaning, let each piece dry completely in a clean place before closing its case. Moisture can remain on the underside even when the glossy surface looks dry. Do not apply adhesive or pack the set away while any piece is damp. Keep the work area separate from makeup powders, hand cream and other products that leave residue.
Inspect the set before saving it
Look at the edges, underside and decorated surface of every nail. Set aside pieces with cracks, distortion, rough broken edges or loose decoration. Compare their shape with the original fit: a piece that rocks or needs pressure to sit down is not ready to reapply. Do not use extra adhesive to compensate for damage or a poor fit.
There is no universal number of repeat wears. A set worn briefly with compatible tabs may have a different cleaning routine from one worn with glue. Judge the individual pieces rather than counting applications. If only some nails are suitable for another wear, contact the brand about available options instead of assuming replacement pieces are included.
Store nails in finger order
Use a clean, dry case with enough space to keep the pieces from rubbing together. Arrange the left and right hands separately, from thumb to little finger. A small written note outside the case can record your finger order and the adhesive used; avoid putting stickers on the decorated surfaces or leaving sticky storage material underneath.
Close the case only when everything is dry, and keep it away from direct heat, sunlight and bathroom splashes. Do not leave loose nails in a handbag pocket beside keys. Raised artwork needs room around it, so avoid stacking pieces or pressing a lid against embellishments. Store fresh adhesive separately according to its own label.
Reapply with a fresh fit check
- Lay out the clean, dry set in the finger order you recorded.
- Dry-fit each piece again and check that it sits comfortably without overlapping the surrounding skin.
- Prepare your natural nails according to the chosen adhesive's directions; avoid excessive buffing or filing.
- Use fresh adhesive in the amount and position specified by its manufacturer.
- Apply each piece with the recommended pressure and follow the product's settling and aftercare instructions.
Your old size note is useful, but it does not replace a current fit check. Natural nail length and the condition of a saved piece may have changed. Do not force a nail into place because it matched last time. Likewise, follow the adhesive label for timing rather than assuming every application needs an identical waiting period.
Build a practical reusable rotation
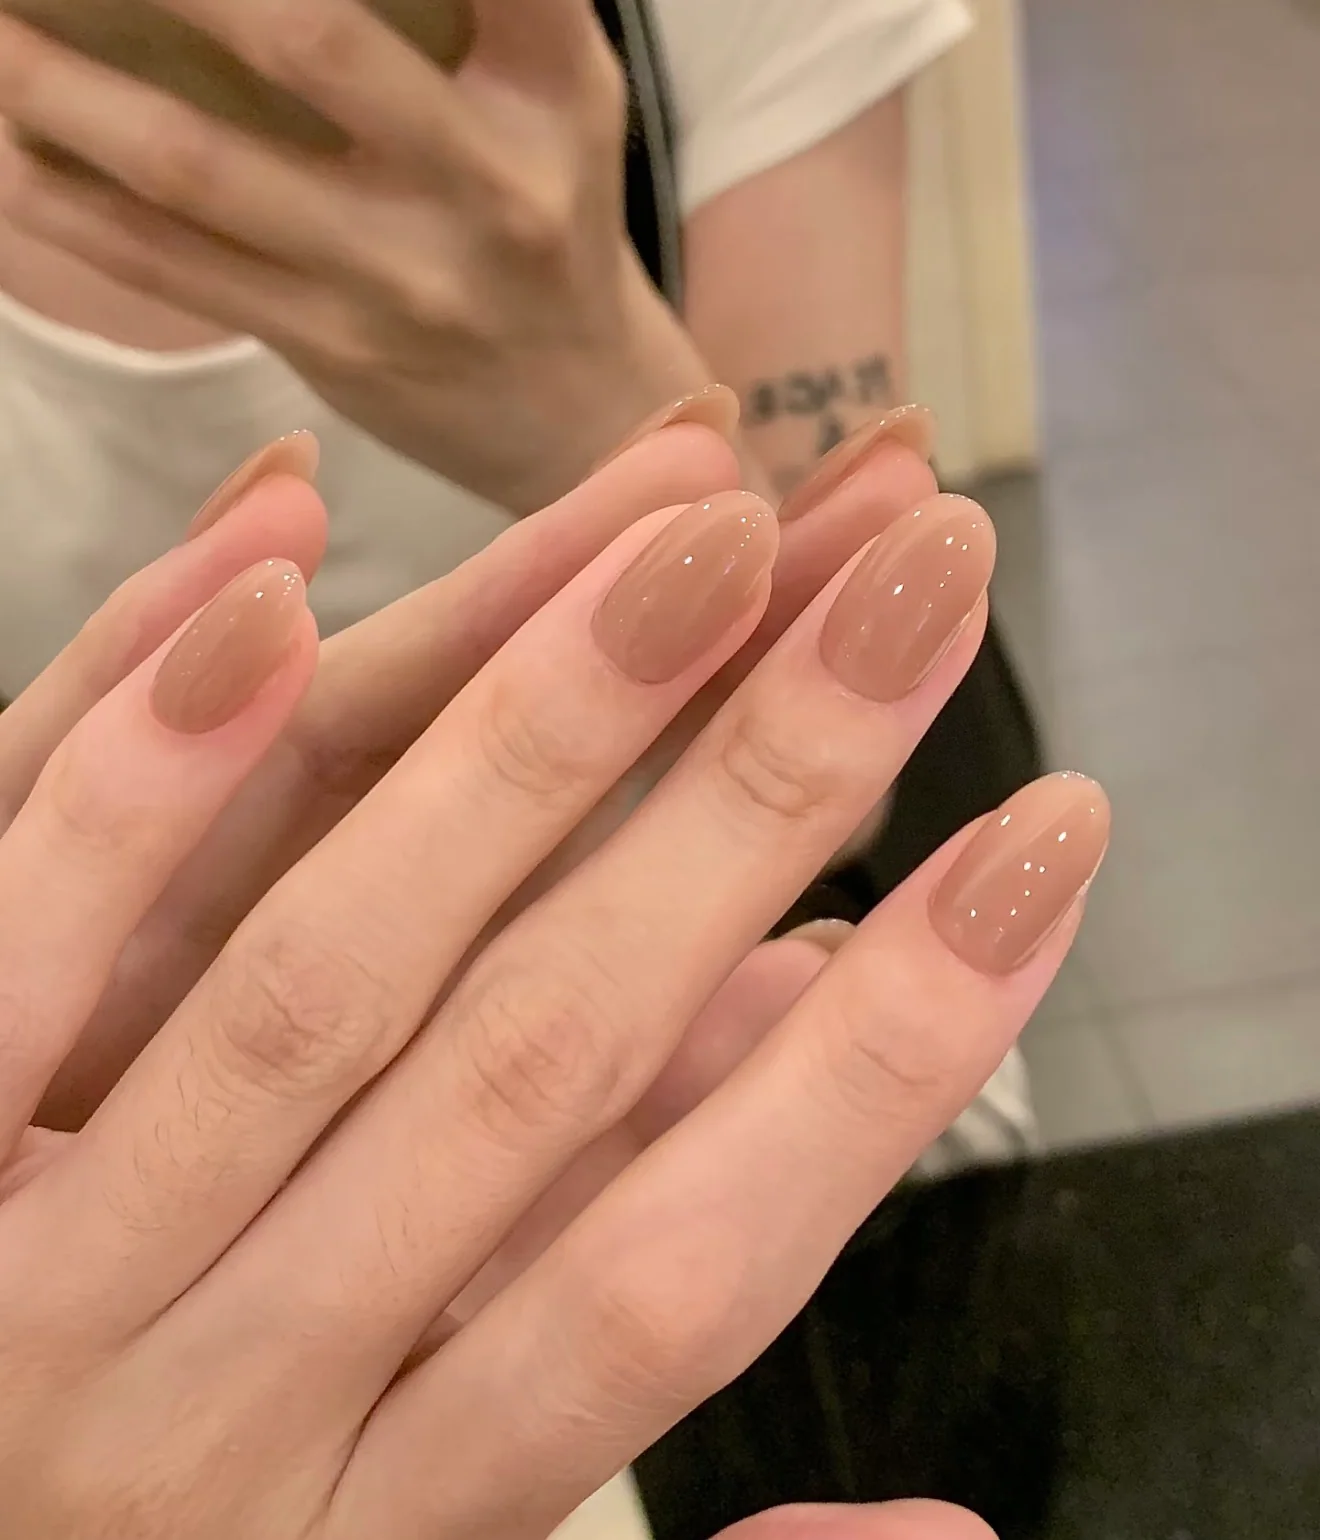
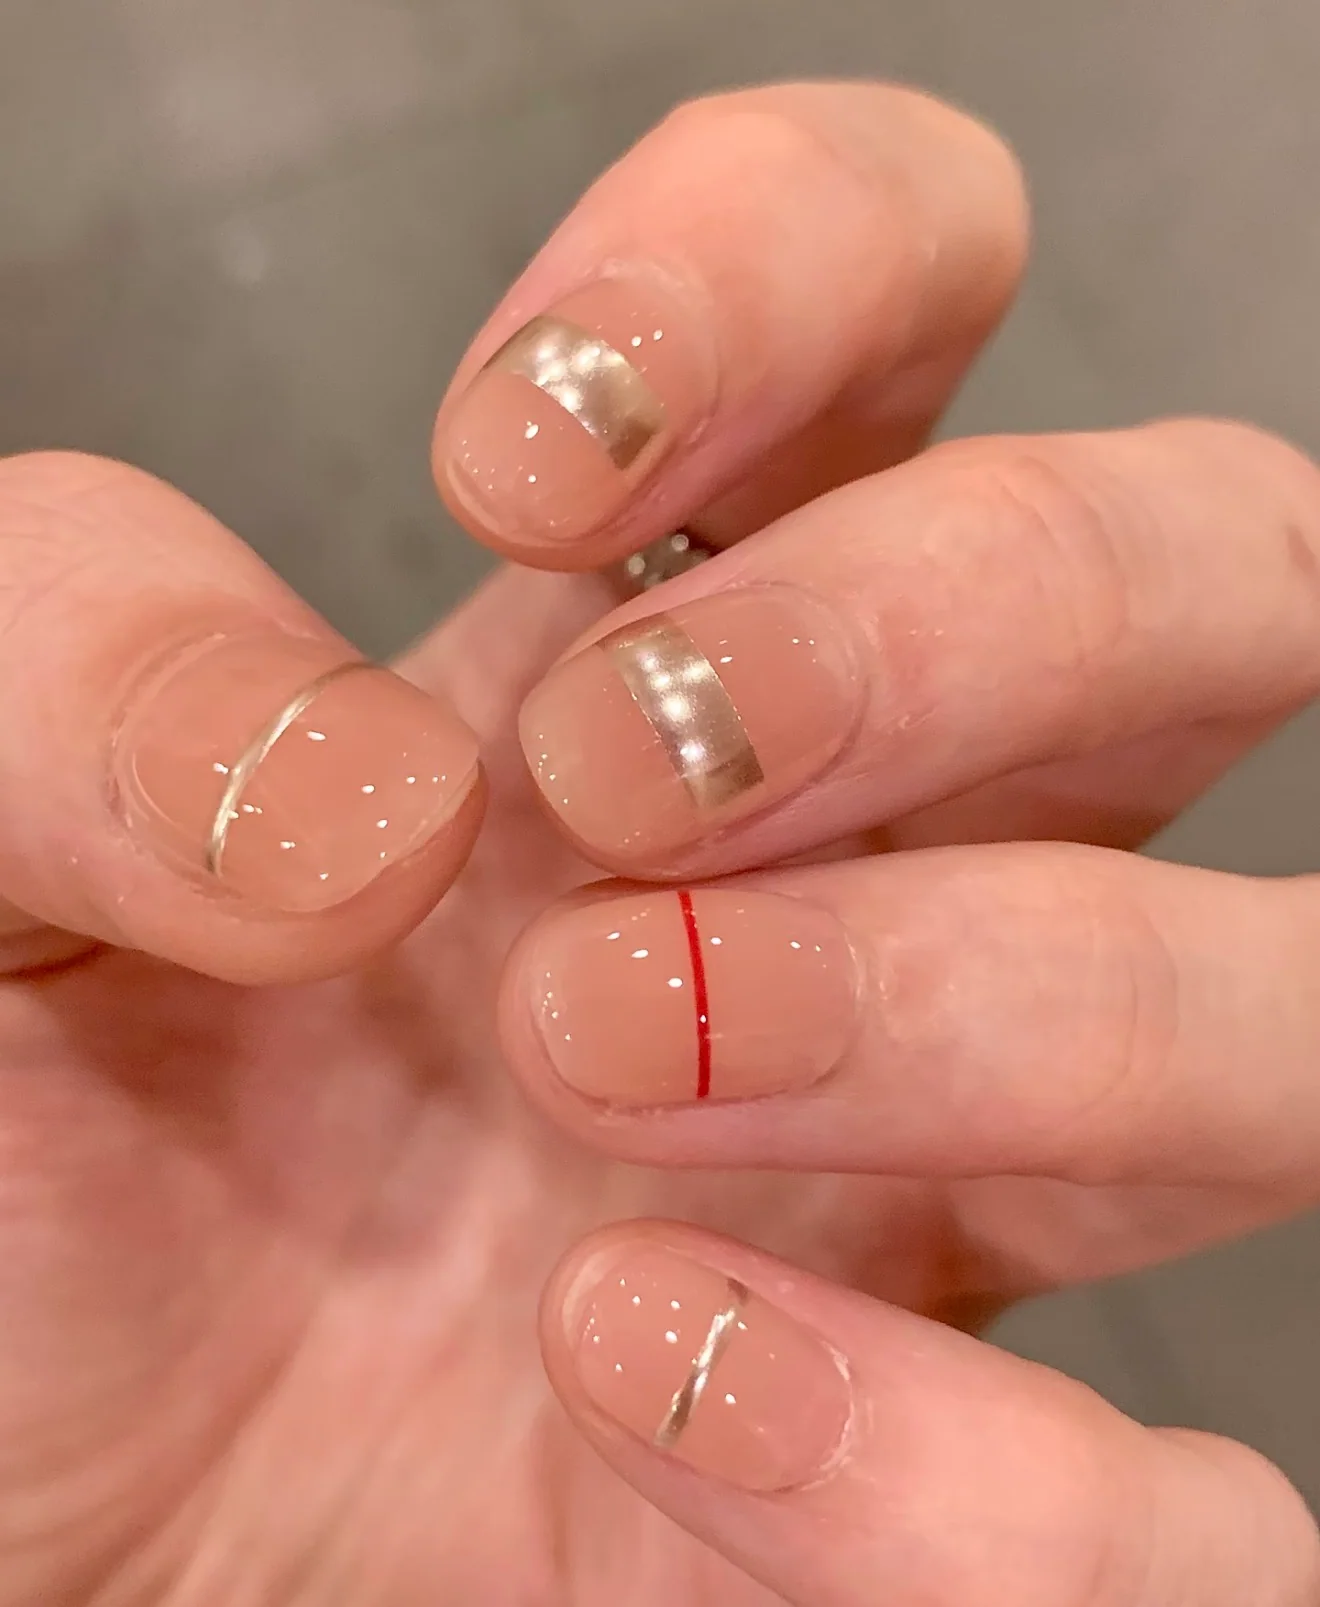
A small rotation gives you time to clean and inspect one set before wearing it again. Cashmere Glass offers a translucent caramel nude for a restrained look, while Fine Line adds red and silver linear detail to a blush base. Keeping them in separate labelled cases makes choosing the next look straightforward.
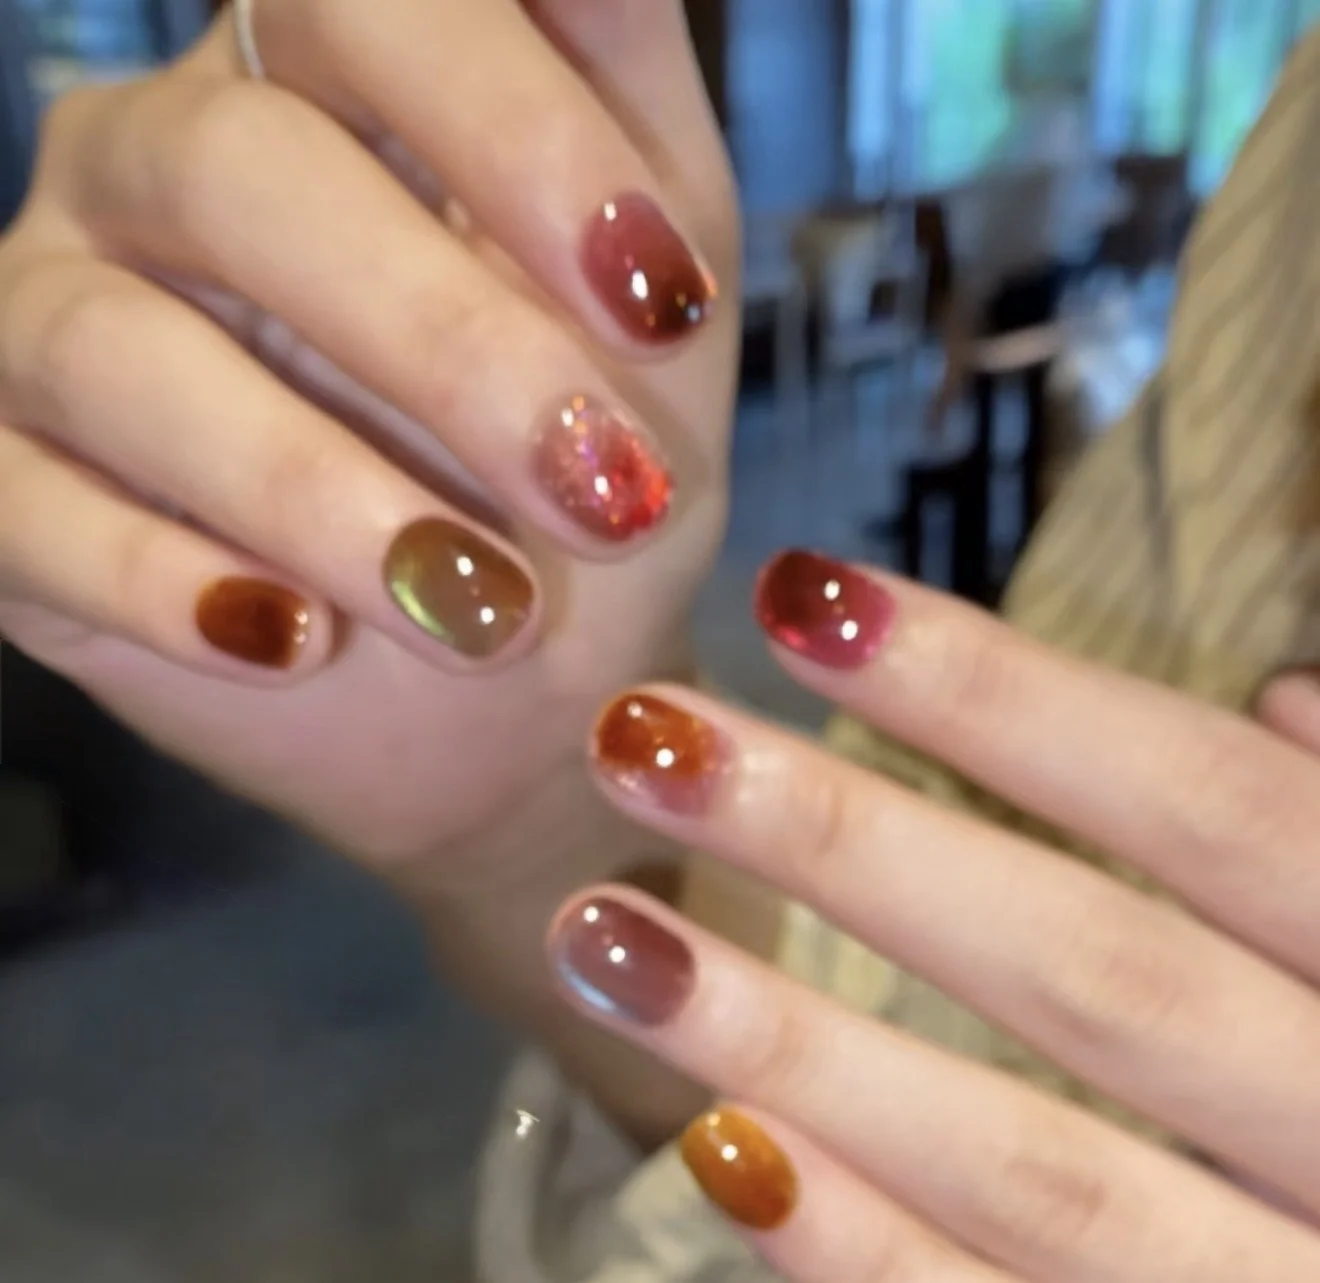
For a warmer finish, Amber Jelly brings amber translucency and fine glitter. Choose designs for the look you enjoy, then give each the same careful inspection; colour and decoration do not establish adhesive compatibility. Photographing the layout before the first application can also make later sorting easier.
Plan your order around fit and reuse
WHATNAIL sells handmade press-on nails, and every reusable set is made to order after you place your order. Sizes are XS, S, M and L, so measure before choosing. There are no returns, exchanges or refunds. Cancellations are reviewed case by case, and orders already in production cannot be refunded.
Shipping is a flat $5.99 on orders of fewer than two sets and free on orders of two or more sets. WHATNAIL ships to the US, CA, GB, IE, DE, FR, IT, ES, PT, NL, BE, AT, CH, SE, NO, DK and FI. A second set can support a rotation, but careful removal, compatible cleaning and dry storage remain the foundations of reuse.