If you have never worn press-on nails before, the whole process is simpler than it looks: measure each nail to find your size, prep the natural nail so the adhesive can grip, and apply with adhesive tabs for the most forgiving first experience. Set aside about 30 minutes, and you will have a full set that wears for a week or more — and because the nails are reusable, your first set is also your second and third.
Key takeaways
- A first press-on application takes about 30 minutes from measuring to finished hands.
- Size matters more than any other factor: the nail should cover the natural nail plate edge to edge without pressing on the surrounding skin. WHATNAIL sets come in XS, S, M and L.
- Adhesive tabs are the most forgiving choice for beginners — easy to apply, mess-free, and gentle on removal.
- Two minutes of prep (push back the cuticle, buff away shine, wipe with alcohol) is what separates a set that lasts a week from one that lifts in a day.
- WHATNAIL sets are handmade to order and reusable; shipping is $5.99 for a single set and free when you order two or more, to the US, Canada and 15 European destinations.
What is actually in the box
Every WHATNAIL set arrives with ten handmade nails in your chosen size and shape, plus an application kit and care instructions. Before you touch any adhesive, lay everything out on a clean, well-lit table: the ten nails arranged in order, adhesive tabs (and nail glue only if you want maximum wear on the first try), alcohol wipes, a fine nail file, and a cuticle pusher. Good lighting is not a luxury here — you are fitting pieces in millimetres, and shadows hide gaps.
Step 1 — Find your size
Sizing is the step that decides everything else. Measure the widest point of each natural nail in millimetres and match it against the size guide; then dry-fit every nail before any adhesive is involved, laying the ten pieces out left hand then right hand. Each press-on should cover the nail plate edge to edge with no rocking and no overlap onto the skin. If a nail falls between two sizes, choose the larger one and file the side edges lightly until it seats — removing a fraction of a millimetre is invisible, while a too-small nail pinches and lifts. S is the most common fit and a sensible default if you are unsure, but measuring takes two minutes and removes all guesswork.
Step 2 — Prep your natural nails
This is the step most beginners rush, and it is the reason most first applications fail early. Wash your hands, then gently push each cuticle back with a soft pusher — you are clearing the thin, invisible skin film at the base of the nail more than the visible cuticle line, because adhesive bonded over that film lifts within days. Lightly buff the nail plate with a fine-grit buffer, just enough to remove the shine and never enough to thin the nail. Finish by wiping each nail with an alcohol pad and letting it air-dry. From this point, avoid touching your face or hair: skin oils are the enemy of the bond, and this two-minute routine is exactly what keeps a set on for a week instead of a day.
Step 3 — Choose your adhesive
You have three options, and for a first-timer the choice is easy.
- Adhesive tabs are the beginner pick. They hold comfortably for 3 to 7 days, go on with no mess or smell, and come off gently — which also means the handmade nail survives removal and can be worn again. If you are still learning sizing and prep, tabs forgive mistakes.
- Nail glue is the long-wear option: 15 to 30 days with good prep, and the flattest bond. The trade-off is commitment — removal takes more soaking, and a glued set may not survive being taken off.
- Solid gel with a nail lamp sits in between at roughly 7 to 15 days, cured under UV light. It is a good second step once you are comfortable with tabs.
Start with tabs. You can always re-apply the same reusable set with glue later, once you know your sizes.
Step 4 — Apply one nail at a time
Peel an adhesive tab, press it onto the back of the press-on, then peel the other side. Line the nail up at the cuticle — seat the cuticle edge first — then roll it down toward the free edge while pressing firmly, pushing out any air as you go. Hold each nail with firm pressure for 20 to 30 seconds. Work from the pinkies toward the thumbs on each hand, saving the thumbs for last so the big nails do not shift while you position the smaller ones. When all ten are on, keep your hands dry for at least an hour; the bond is still setting, and water in the first hour is the fastest way to loosen it.
Step 5 — Wear, remove, and reuse
Daily life needs small adjustments: wear gloves for dishwashing and harsh cleaners, and skip long hot soaks in the first day. If a corner starts to lift, remove and reapply the loose nail according to the adhesive instructions rather than picking at it.
When you are ready for a change, removal is gentle: soak your fingertips in warm, soapy water for 10 to 15 minutes, then lift each nail from the sides with a soft pusher — never force or pry from the tip. Peel the used tab off the back of the press-on, wipe the nail clean, and store the set in its case. Because WHATNAIL nails are handmade and reusable, the set you just wore goes straight back into your rotation.
Sets that are easy to start with
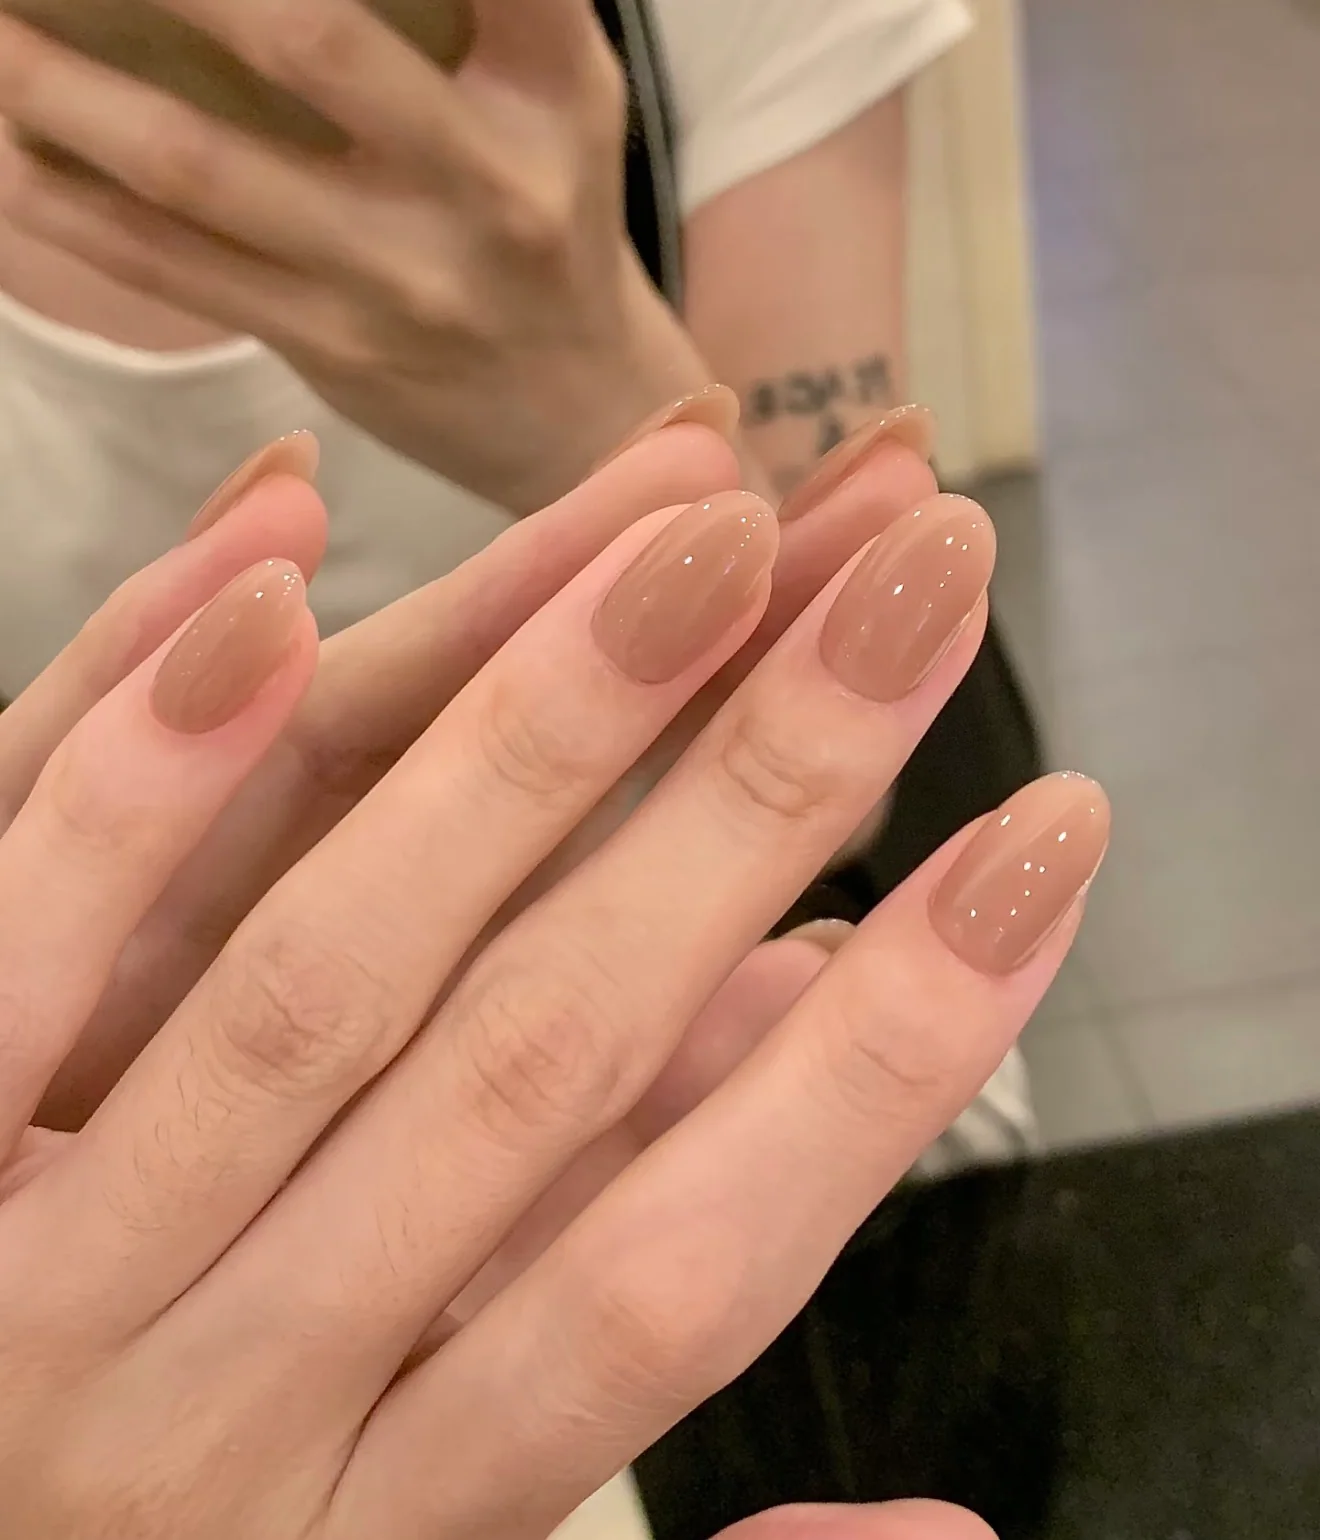
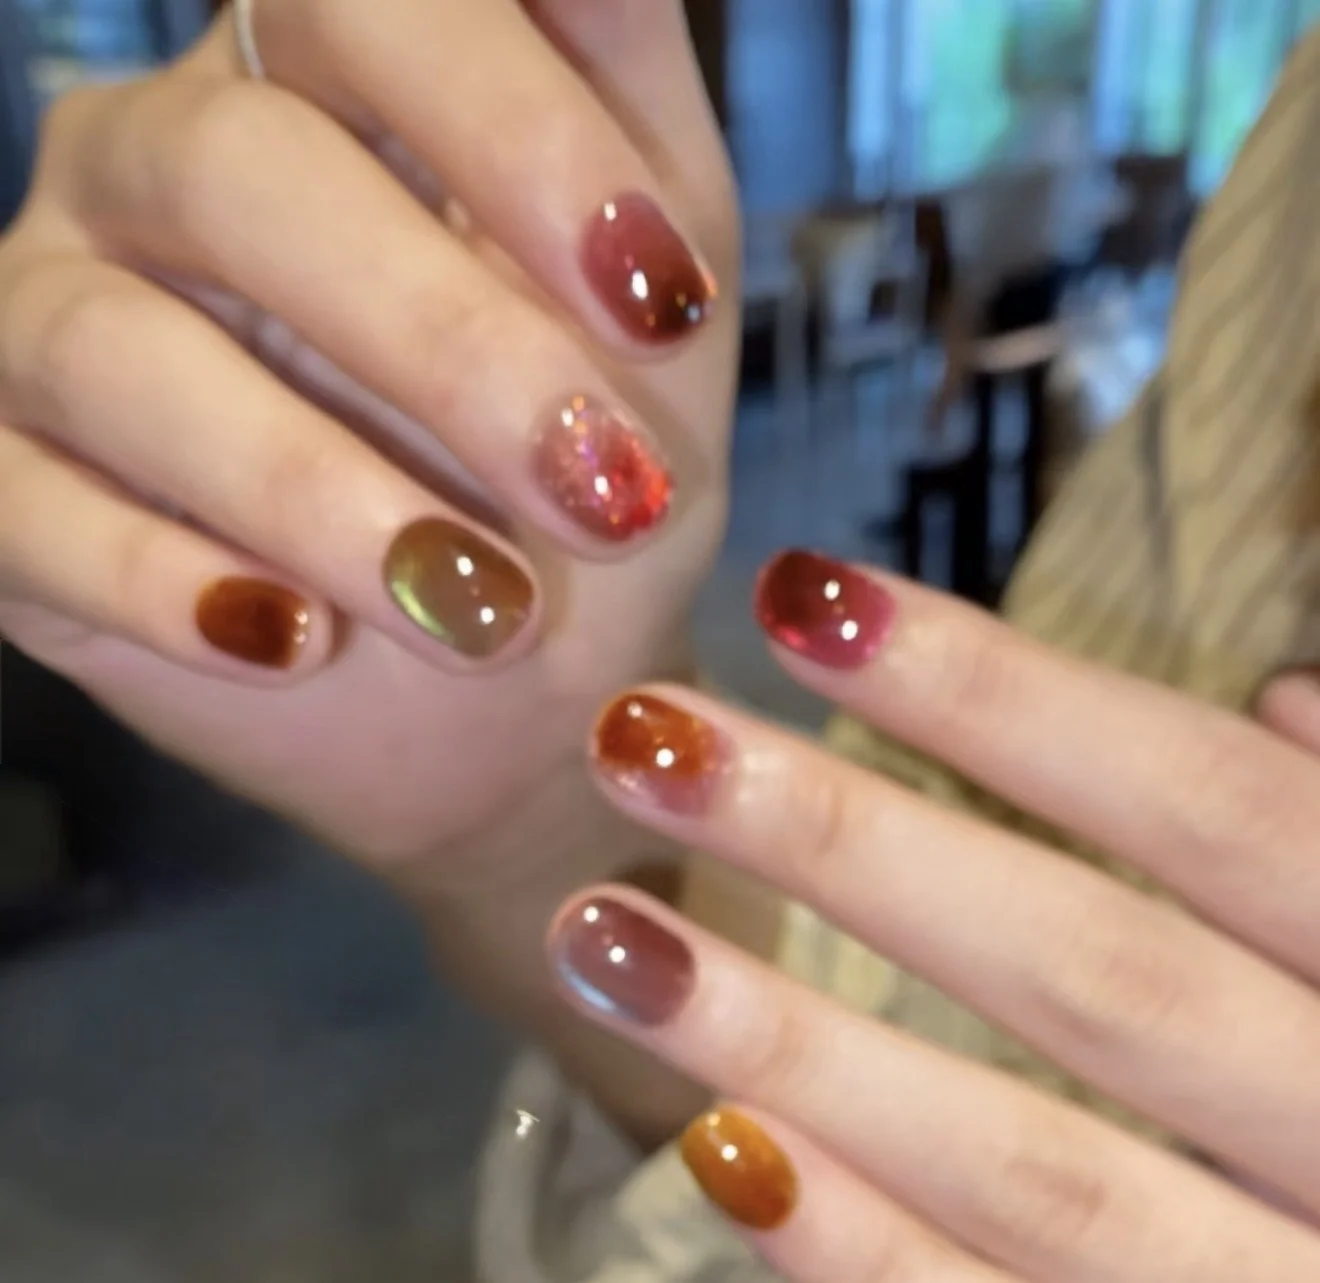
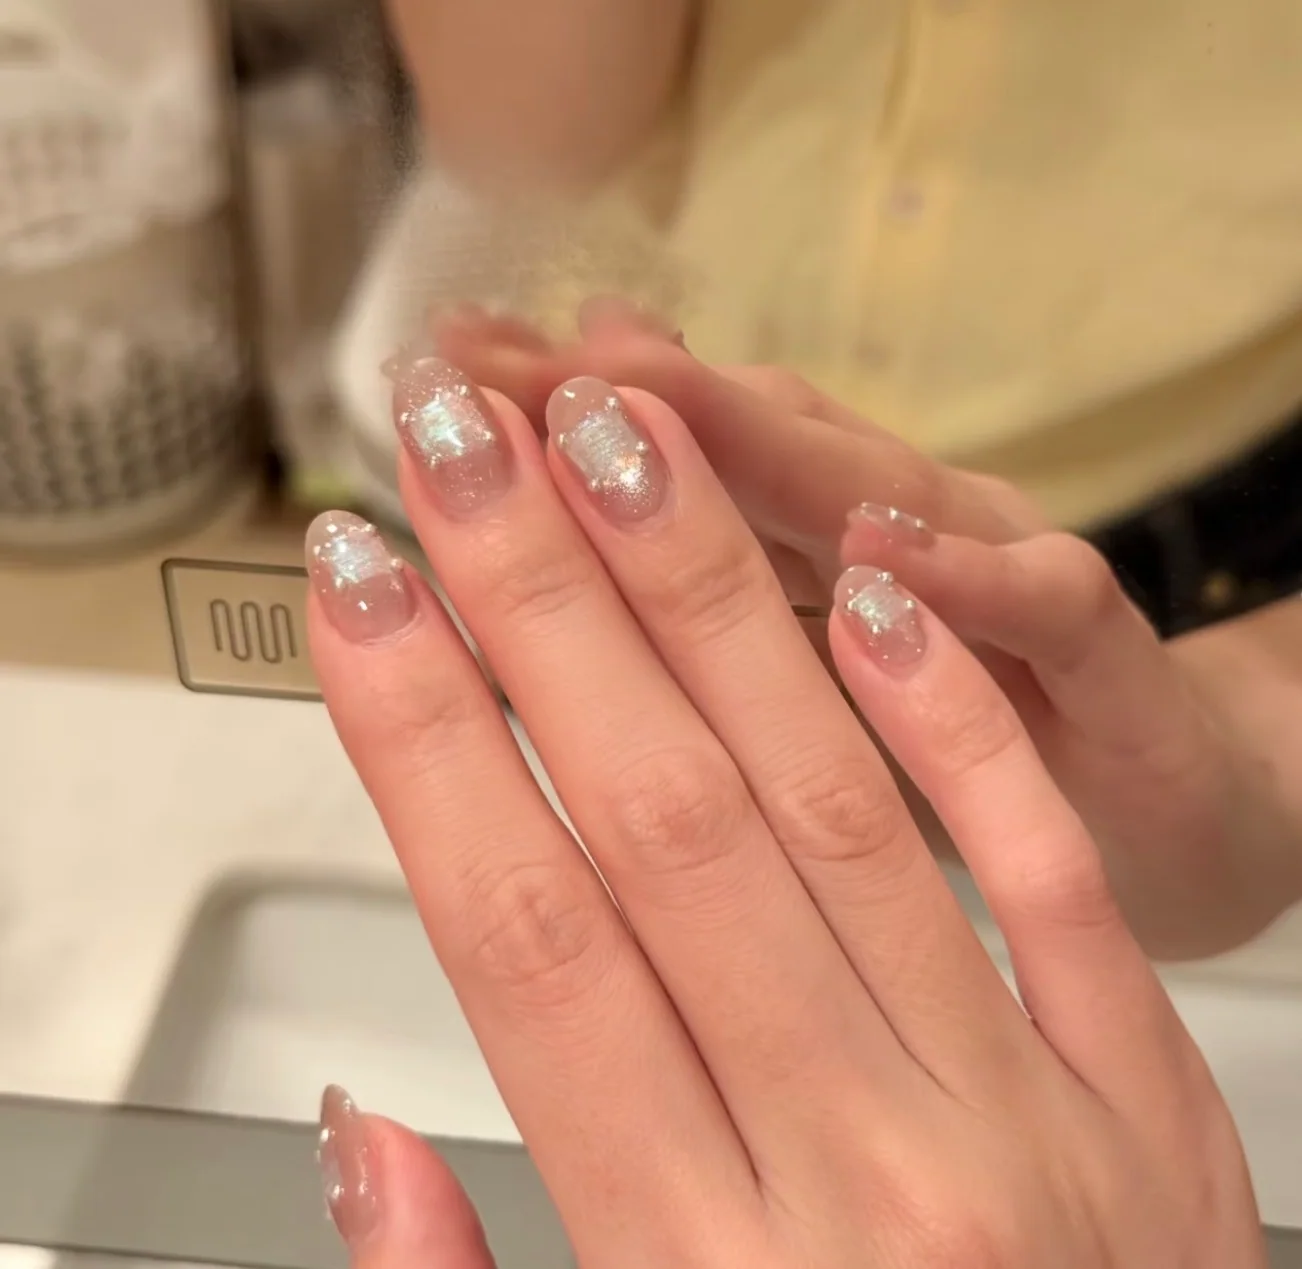
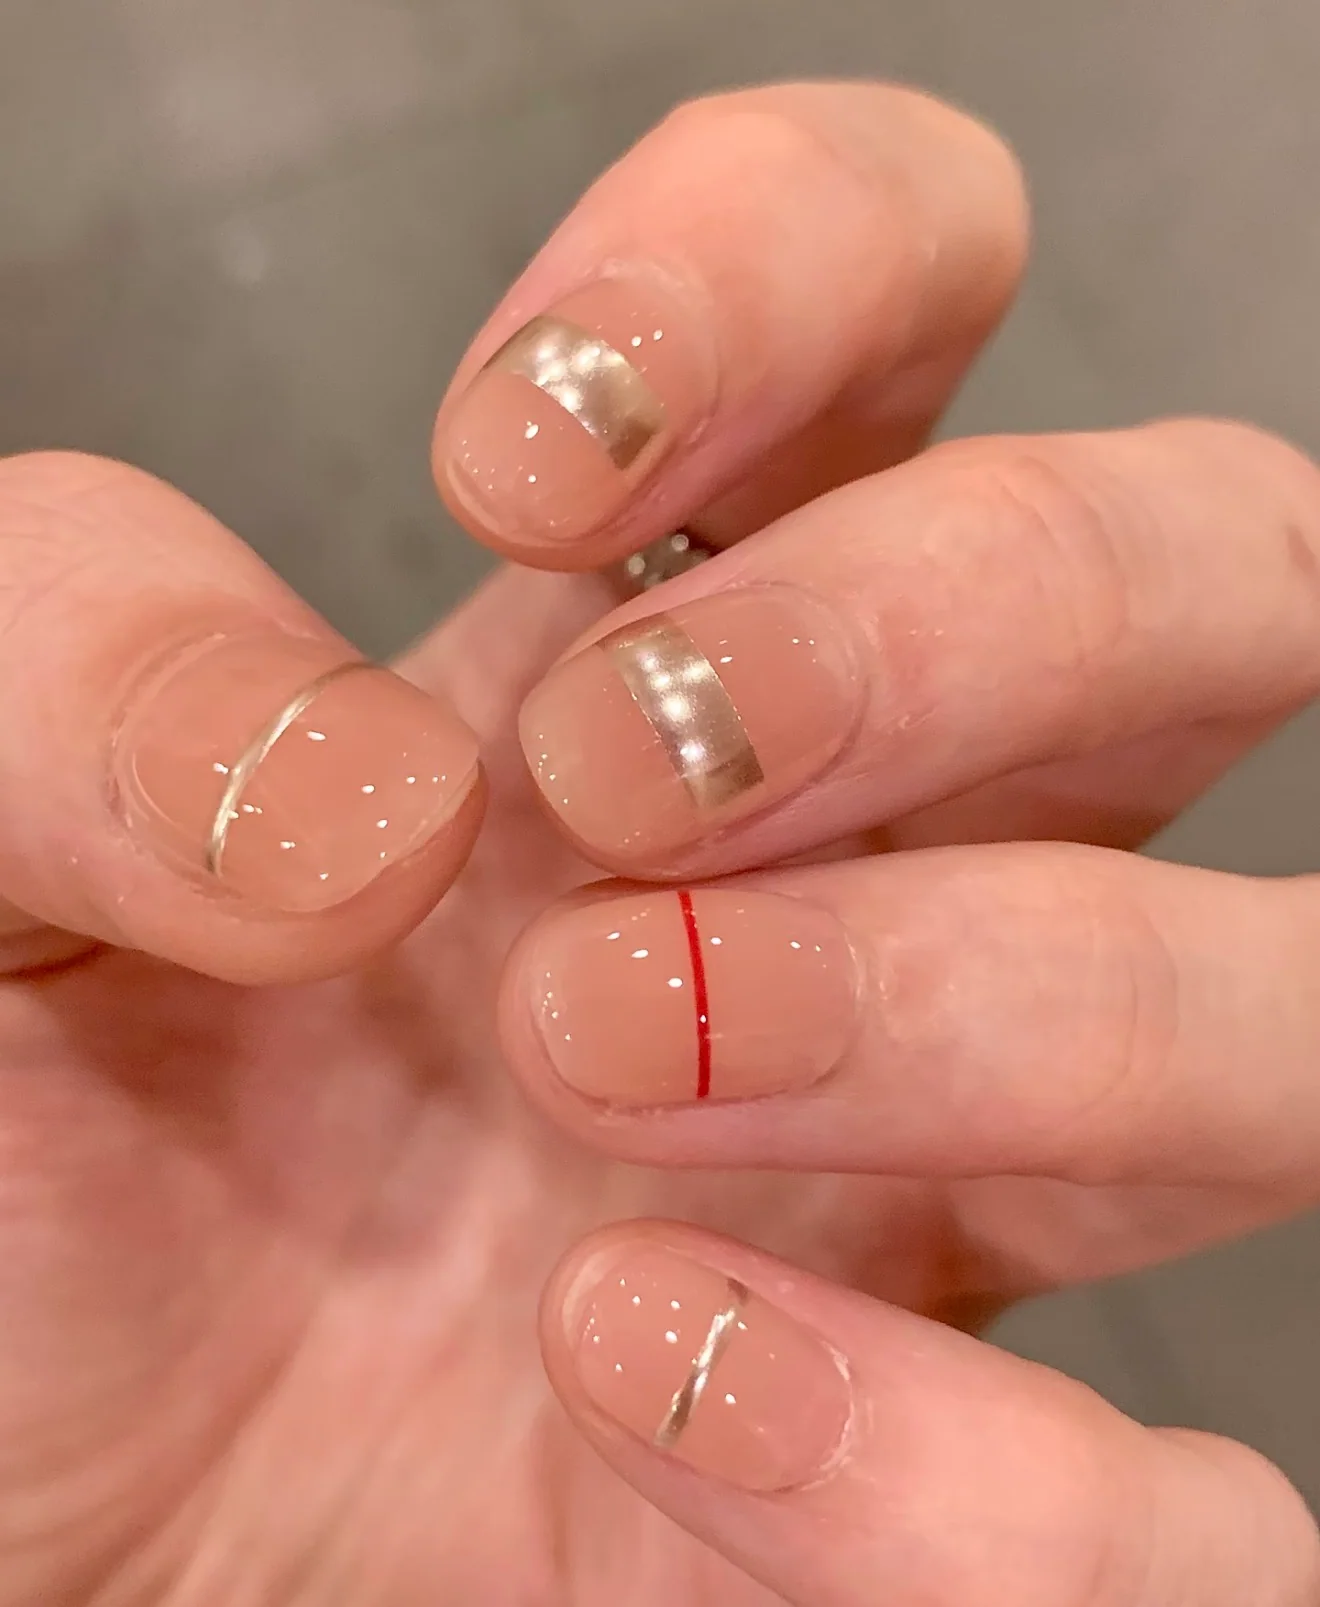
Some designs forgive beginner mistakes better than others. Sheer and jelly finishes are the most forgiving: a sheer nude like Cashmere Glass blends into the natural nail at the cuticle line, so any hairline gap disappears instead of showing. Amber Jelly works the same way — its translucent depth hides small imperfections in prep that an opaque colour would reveal. Opal Bubble is another gentle first choice, sheer and elegant with a soft dimensional finish. And if you want something minimal that snags less in daily life, Fine Line's hand-painted linear detail is simple, lightweight, and easy to re-apply. Start with one forgiving set, learn your sizes, and build from there.
Every WHATNAIL set is handmade to order after you place your order, which is why each set is made specifically for you — and, for hygiene and made-to-order reasons, returns, exchanges and refunds are not available. Cancellations are reviewed case by case; orders already in production cannot be refunded, so take the time to measure before you order. Sets ship to the United States, Canada, the United Kingdom, Ireland, Germany, France, Italy, Spain, Portugal, the Netherlands, Belgium, Austria, Switzerland, Sweden, Norway, Denmark and Finland. Shipping is a flat $5.99 when your order has fewer than two sets, and free on any order of two or more — which is also the practical way to start a small rotation: one forgiving set to learn on, and a second to wear while the first rests.
Your first application will feel slow. Your third will take fifteen minutes. That is the whole learning curve.
Wear time varies with preparation, adhesive and daily activity; quoted ranges are not guarantees. Always follow the adhesive maker’s application, curing and removal directions. Warm soapy water may help release adhesive tabs, but it is not a universal remover for nail glue or cured gel. Do not force a nail that resists removal, glue over trapped moisture, or file through a handmade finish. WHATNAIL handmade sets dispatch within 10 business days; delivery time is additional and depends on destination.