Apply solid gel press-on nails only with an adhesive, finished nail tip and lamp that the adhesive manufacturer confirms work together. Fit and prepare the nails first, keep uncured product off skin, and follow the specified placement and full curing instructions; if compatibility is uncertain, choose a suitable non-light-cured method instead.
Key takeaways
- Solid gel attachment requires a compatible curing lamp and a finished tip approved for that adhesive system.
- A sheer appearance does not prove that enough curing light reaches the adhesive beneath a decorated press-on.
- A brief flash cure can hold a tip in place but does not replace the full cure specified by the adhesive manufacturer.
- Adhesive tabs and conventional nail glue do not require a curing lamp and may suit designs unsuitable for light-cured attachment.
First, identify what you have
The phrase solid gel can describe different products, so read the label before opening the container. A light-cured attachment gel is not interchangeable with conventional nail glue, a removable adhesive tab or a finished gel-polish design. A press-on decorated with gel polish does not automatically need a lamp to attach it. The attachment product determines the method.
Keep the adhesive packaging and instructions nearby. Look for the approved lamp, compatible tips, preparation steps, application amount, curing process and removal method. If that information is missing or unclear, ask the supplier before applying it. A generic tutorial cannot supply a reliable cure time for an unidentified product.
Check the finished design, not just the blank tip
Light must reach a light-cured adhesive. Colour layers, foil, painted details and embellishments can change the suitability of a finished tip even when the original blank was transparent. Do not assume that shining a lamp from the side or curing for longer compensates for an unsuitable design.
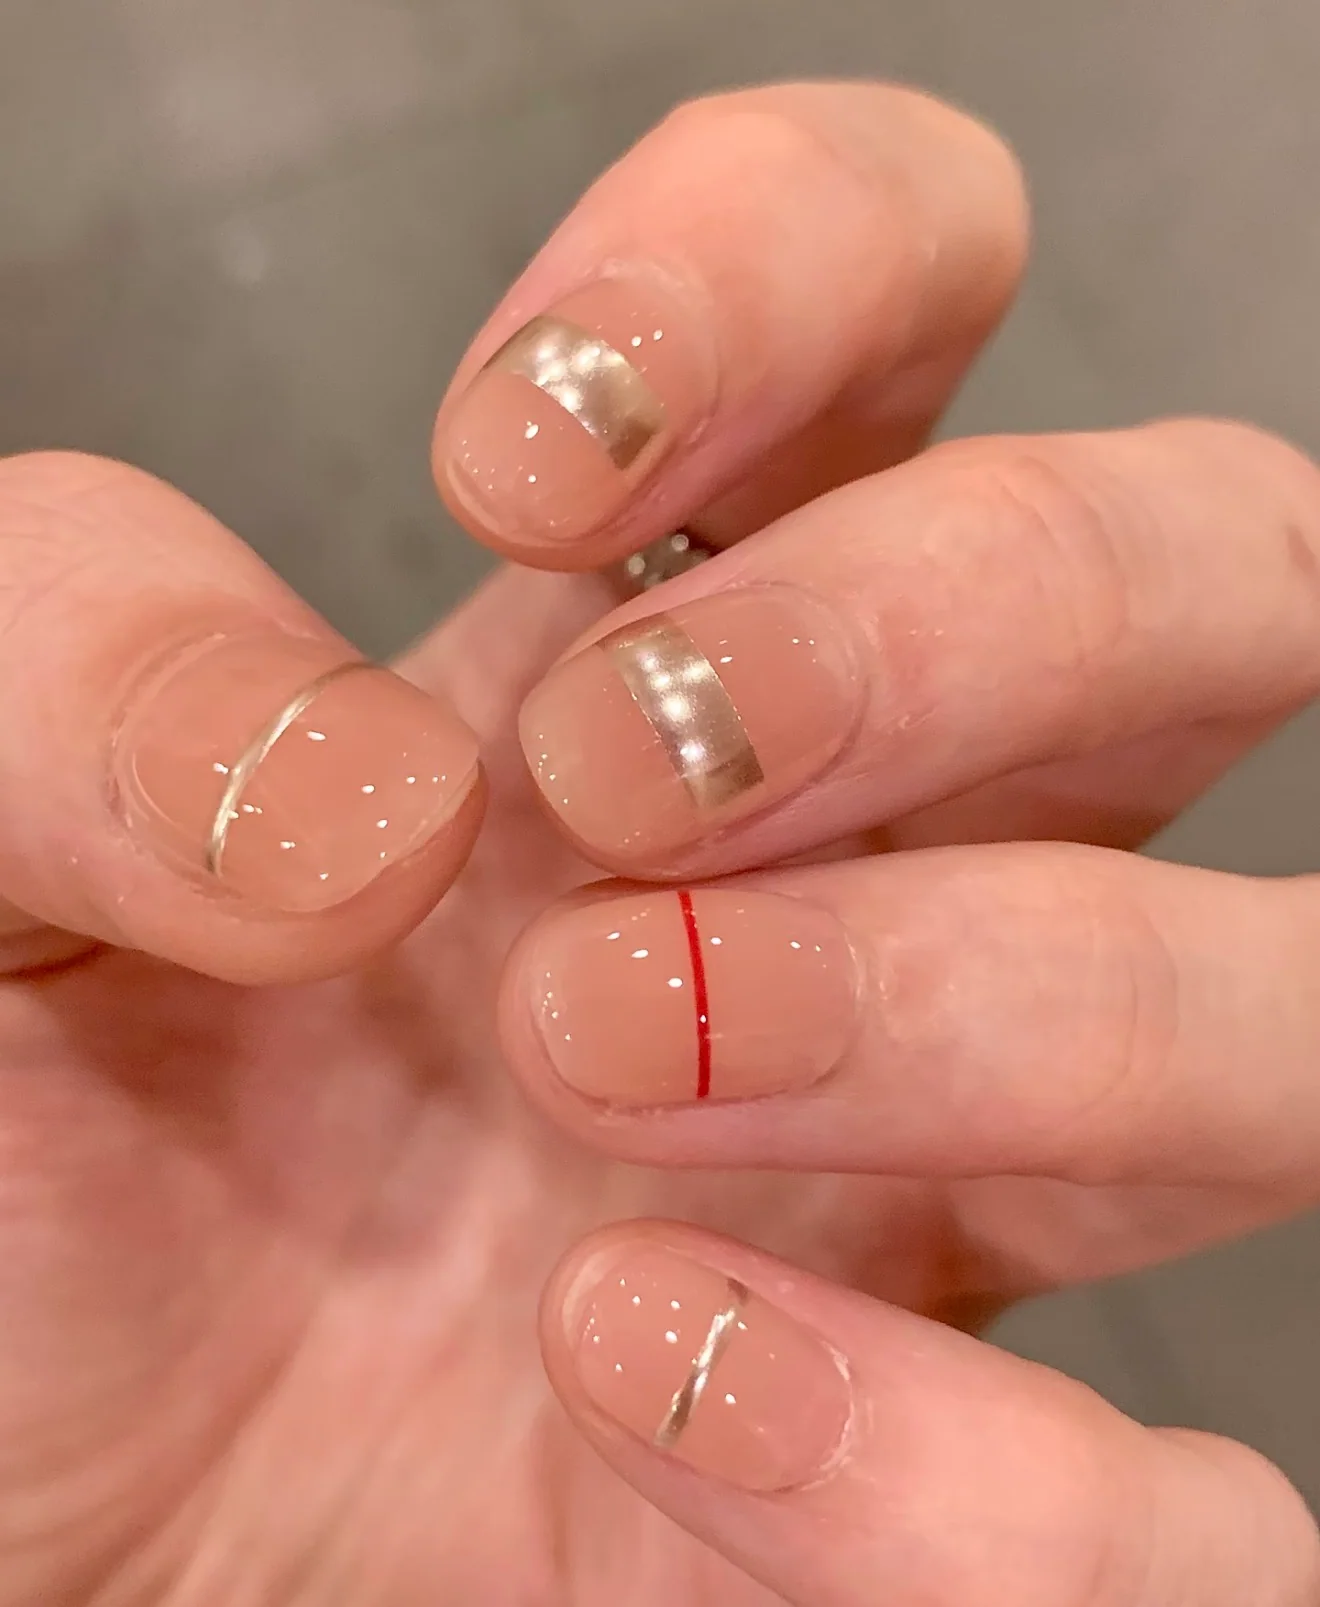
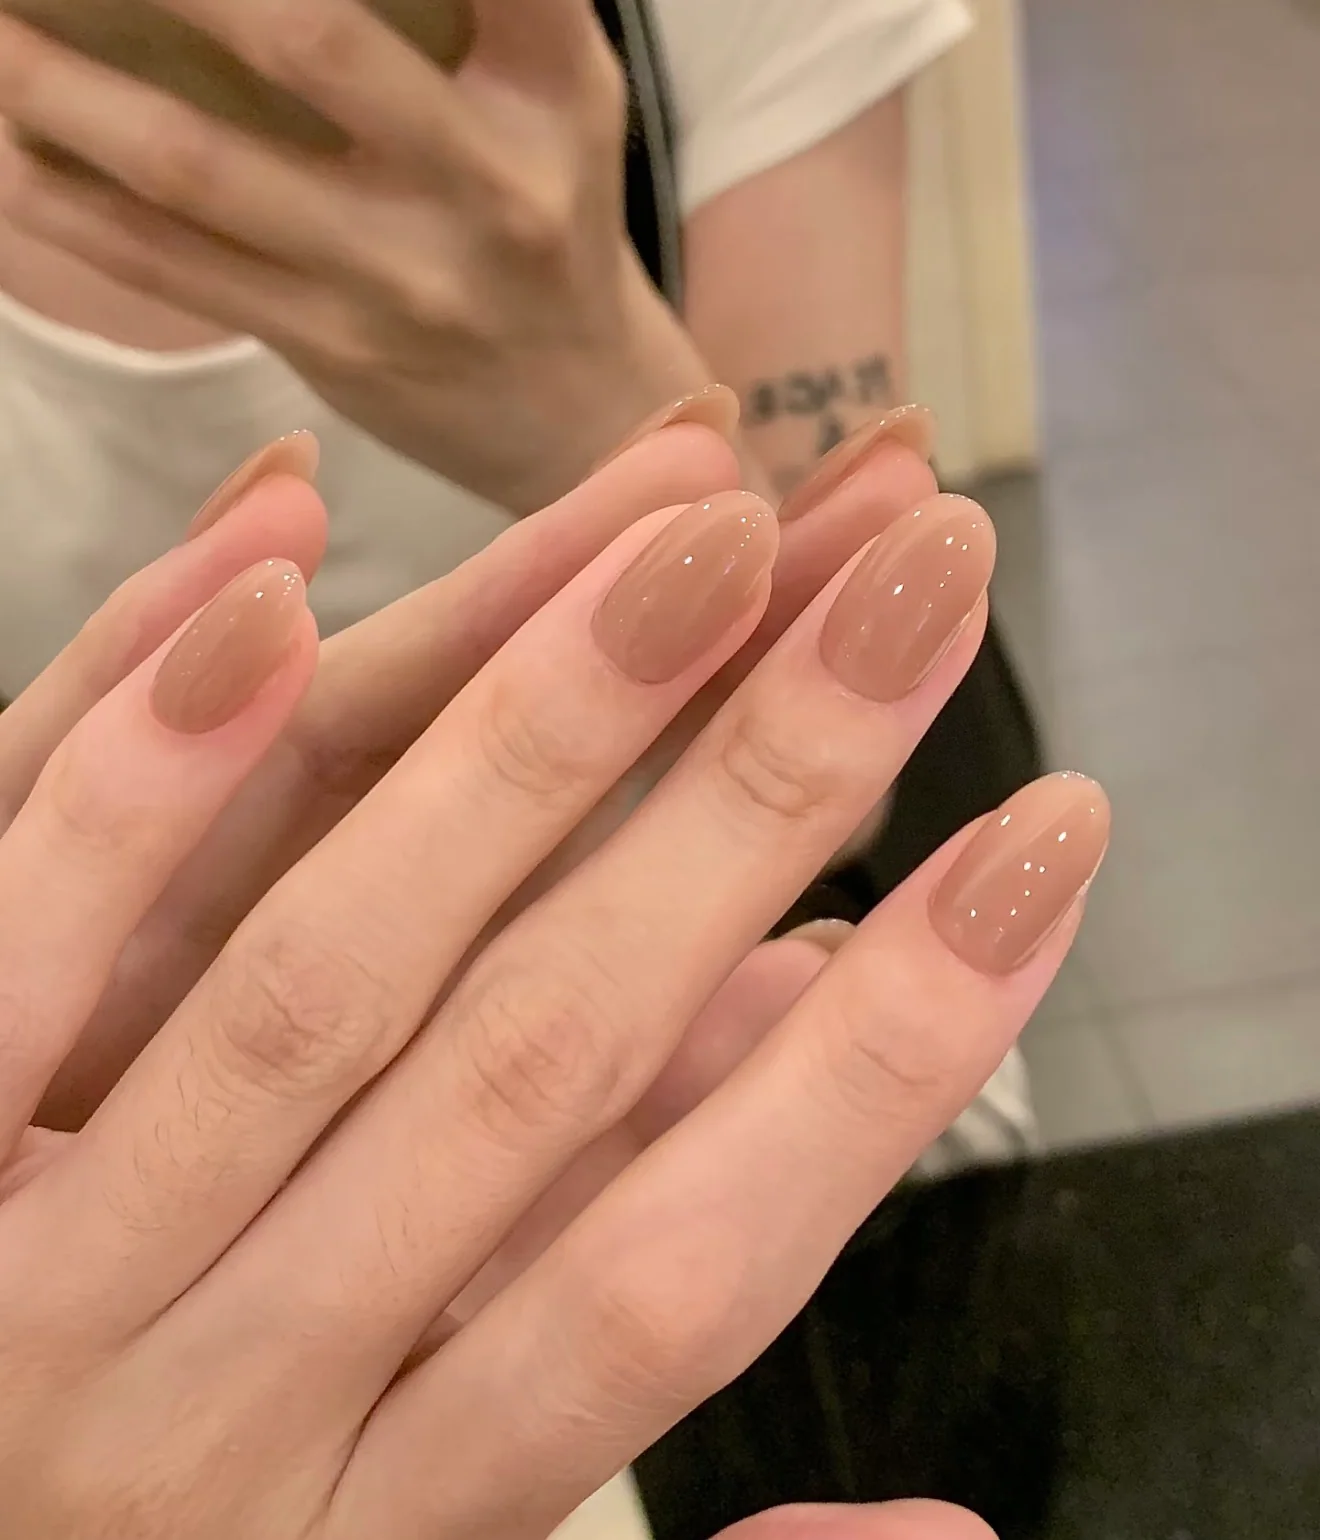
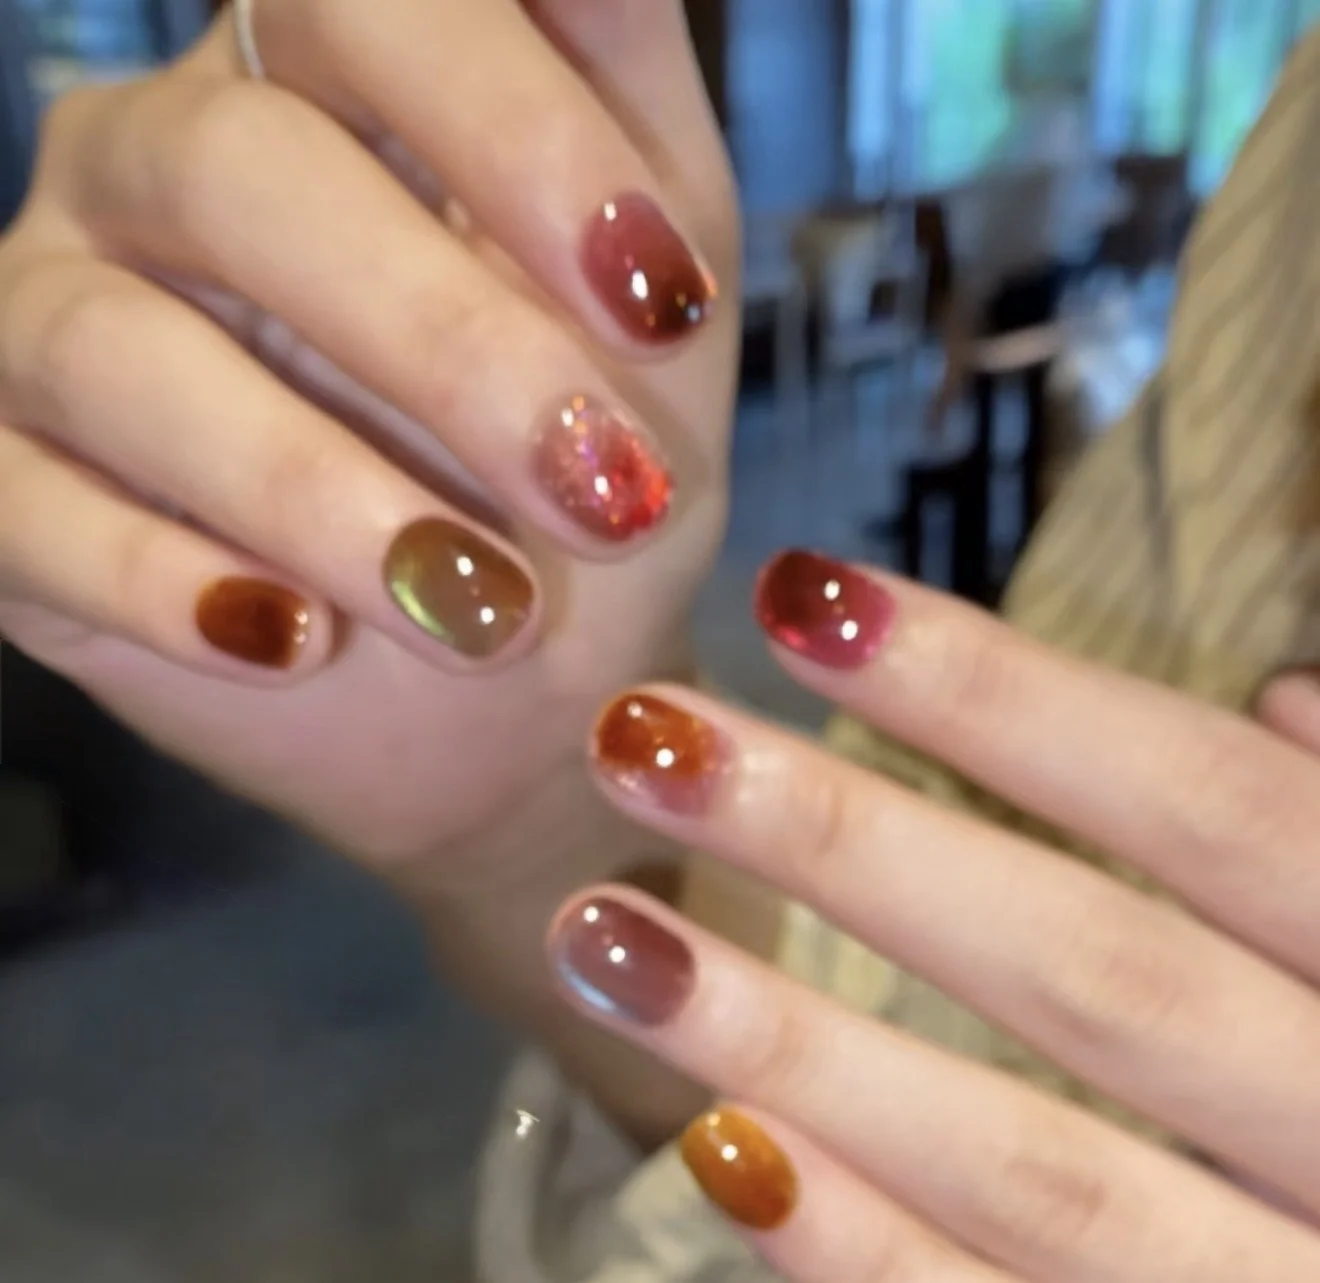
Use the product photographs to choose a look, not to approve an adhesive. For example, explore Fine Line, Cashmere Glass and Amber Jelly as styling options, then confirm the attachment method for the actual finished set. These links are design suggestions, not a claim that these sets are validated for solid gel.
Prepare your workspace before applying anything
Arrange all ten tips in finger order on a clean surface. Have the manufacturer's recommended preparation supplies, cleanup materials and removal instructions available. Position the compatible lamp so you can place your hand as instructed without shifting the tip. Check that the lamp works before putting adhesive on a nail.
Read the lamp instructions as well as the adhesive instructions. A wattage printed on a device does not, by itself, establish compatibility. Avoid improvising a mixed system based only on a similar-looking bottle or a short video. If this is your first light-cured application, professional help is a reasonable choice.
Dry-fit every nail
Check each tip without adhesive. It should sit comfortably across the natural nail without squeezing the sides or leaving obvious gaps. Do not expect a thick cushion of gel to correct a poor fit. Measure each finger separately, since the same finger on opposite hands may need a different width.
WHATNAIL offers XS, S, M and L sizing. Use the fit and care information and the product's measurement guidance before ordering. Shape and width are separate decisions: a shape you love still needs to fit your nail bed. Avoid substantial reshaping of finished handmade edges simply to force a match.
Follow the preparation and placement sequence
Prepare gently
Follow the attachment product's instructions for cleaning and surface preparation. Remove old adhesive appropriately and let the nail surface dry as directed. Do not aggressively file the natural nail to make the bond stronger. If the nail or surrounding skin is irritated, damaged or uncomfortable, postpone application rather than covering it.
Keep the product controlled
Use only the amount and placement specified for your system. Keep uncured gel away from skin and do not cure overflow onto the cuticle or sidewalls. If placement goes wrong, stop and clean up according to the product instructions before trying again. Adding extra product is not a substitute for correct sizing.
Complete the specified cure
If the system calls for a flash cure to secure the tip, follow it with the prescribed full cure. Do not judge completion solely by the tip feeling firm. Avoid borrowing timings from a different brand or substituting a small positioning light for a full curing lamp unless the manufacturer explicitly approves that process.
Know when to choose another method
Choose an appropriate alternative when the finished design is not approved for light-cured attachment, the compatible lamp is unavailable or the instructions cannot be confirmed. Adhesive tabs can be useful for temporary styling and switching sets. Conventional nail glue is another method where suitable; follow its own instructions and keep it off skin too.
Do not continue an uncomfortable application. If unusual changes or persistent nail problems occur, stop using the product and seek qualified advice. The American Academy of Dermatology's gel manicure guidance offers general nail-care context; it is not a curing specification for your adhesive.
Plan removal before wear
Read the removal method before applying the first nail. Do not pry, peel or force a firmly bonded tip off. Some removal products can affect a handmade finish, so check both adhesive and set guidance before soaking or cleaning. Forcing removal can also leave you with a set that is no longer suitable to wear again.
WHATNAIL handmade sets are designed for reuse, but each subsequent wear depends on careful handling and the condition of the nails. After appropriate removal, inspect the set, clean it using a compatible method, and store it dry. Keep finger positions labelled so the next dry-fit is straightforward.
Order with time to confirm your method
WHATNAIL sets are handmade to order, with dispatch within 10 business days; delivery time is separate. Confirm sizing and your intended adhesive before ordering for an event. The useful goal is a well-planned application with clear instructions, not the longest possible wear at any cost.